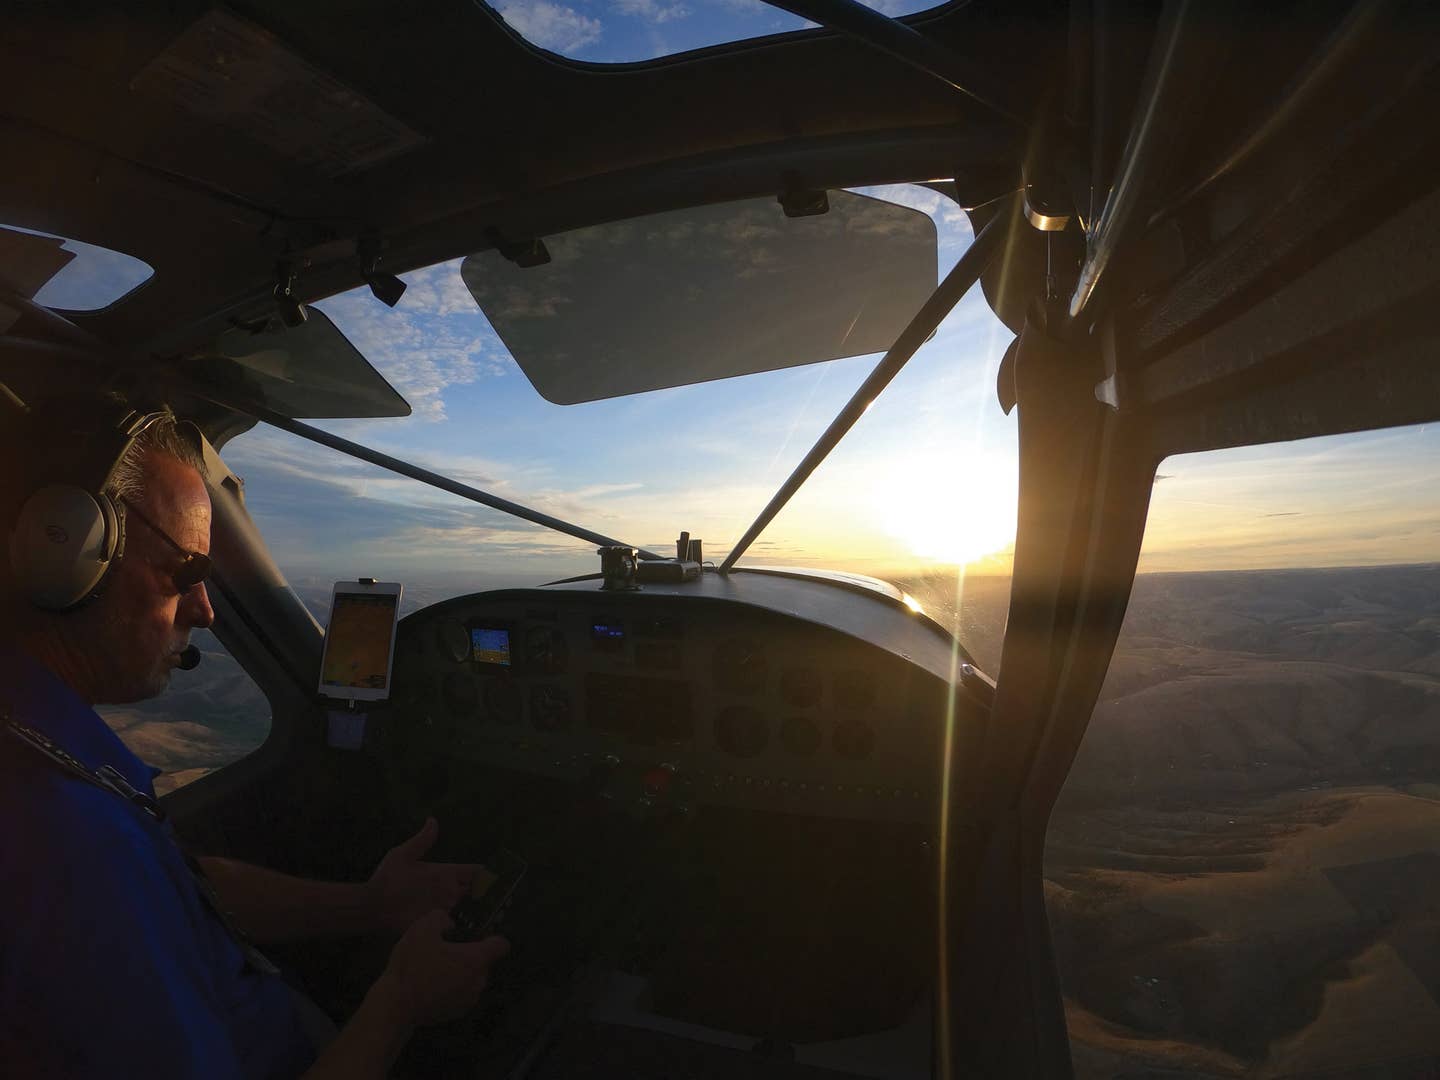
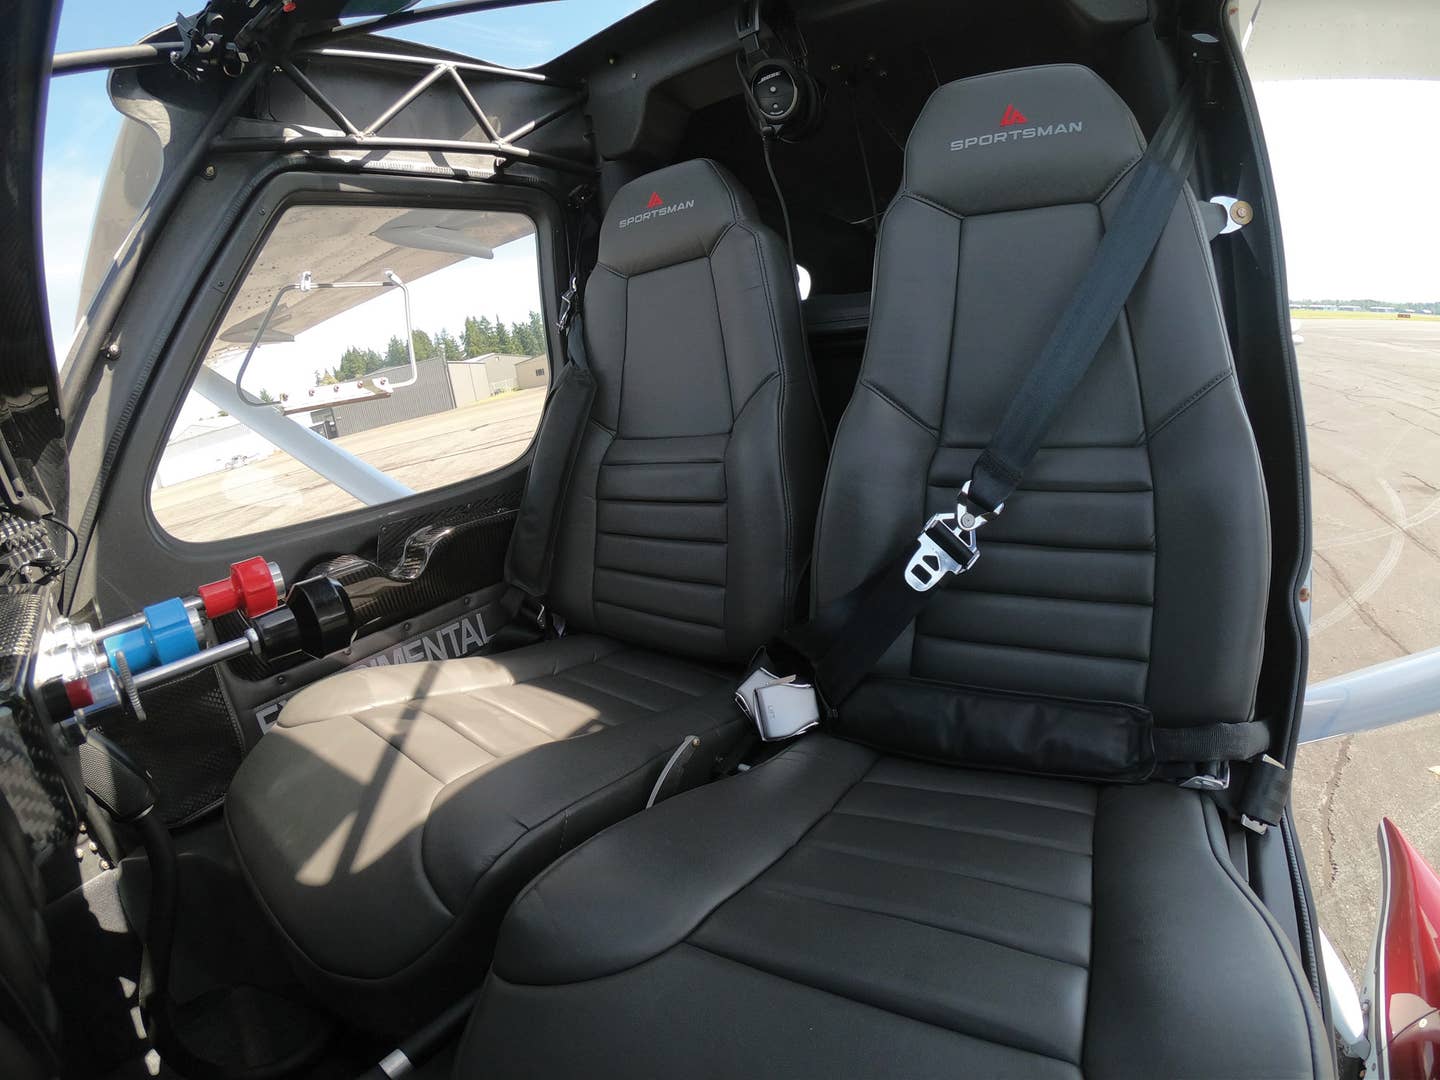
 When you're on short final and descending through 50 feet, it really doesn't make much difference how good you are at centering airways, whether you can spout FARs or if you scored 100% on the written: The only thing that counts is how well you actually fly. Everything else is superfluous because every single thing you know about actually flying the airplane is compressed into a 10-second time span and an ever-decreasing sliver of altitude. This is literally where the rubber meets the road and where every one of your moves has measurable consequences.
There is, of course, the little matter of how you get down to that altitude in the first place. As the old adage goes, "The landing is made in the approach," which is a truism. The landing starts on downwind and it then morphs into the complex dance that happens in that last 50 feet. If it's wrong on downwind, then it'll be a continuing struggle to get it right in ground effect.
Without belaboring a lot of often-discussed flight-training tips, let's condense the first part of the approach into a number of guidelines, all of which are (or should be) harped on constantly.
1) PUT DOWNWIND IN THE SAME PLACE EVERY TIME, AS MUCH AS POSSIBLE.
You're trying to set up a consistent pattern so that if the situation calls for modifying your usual way of doing business, you'll have a firm pattern in your mind---a datum to work from---and you'll know exactly what effect any change will have.
2) HAVE DOWNWIND AT EXACTLY THE SAME HEIGHT EVERY TIME.
The height above the ground determines the amount of potential energy the airplane has and determines how far it's going to glide. If you're at a different height every time, then the rest of the approach will have to be adjusted accordingly to compensate. This introduces yet another set of variables when you already have a bunch to deal with. Your goal is to eliminate variables as much as possible.
To compensate for airports with different pattern altitudes, establish a reference on the wing that sets your downwind distance at your home airport. If you're at a different altitude at a different airport, then put your reference point on the runway; it will automatically move you in and out to compensate for the altitude. This gives the same energy-to-distance ratio. Closer in, you'll be lower with less distance to travel; farther out, you'll automatically be higher.
|
3) MAKE POWER REDUCTIONS AND CONFIGURATION CHANGES IN THE SAME PLACE AND THE SAME WAY EVERY TIME.
Changing the power and setting flaps on downwind affects the airplane's energy and glideslope, so start that change in the same place and with the same timing (power back at same rate, flaps down at same rate) to keep the energy change consistent. From that point on, whether power is increased or decreased depends on the traffic, wind, etc. If you're doing a full power-off landing (power cut opposite the threshold on downwind), this consistency sets up a glideslope that will be essentially the same every time.
4) HOLDING AN EXACT AIRSPEED IS YOUR GOAL.
Any deviation, over or under, the POH-recommended approach speed (usually best glide speed) results in unnecessary altitude losses. This is another way of saying, "Once the power is off, configuration is changed and attitude for the correct speed is established, note the nose's relationship to the horizon and hold it there." Speed changes will be seen first in the windshield (the nose goes up or down). At the same time, sharp ears will hear a change in the tenor of the wind noise. The airspeed indicator will eventually catch up, but it's historical information. Speed changes happen in the windshield first.
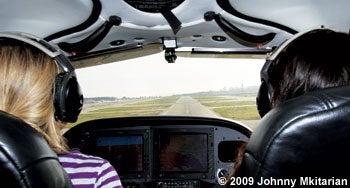
5) VISUALLY LOCK ONTO THE MOVEMENT OF THE RUNWAY NUMBERS AS YOUR GLIDESLOPE.
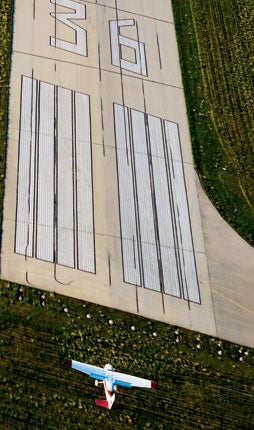
If the numbers seem to be moving away (up the windshield), then you'll be short. If they're coming toward you (down the windshield), then you'll go over them. The goal is to hold them stationary in your vision through power, configuration changes or slips. That will point your glideslope at the numbers, and when you break the glide and flair, you'll land past them by a modest distance. Try to be at a reasonable height over the threshold, between 20 and 40 feet. That'll put you on the runway 500 to 700 feet past the numbers, so no runway will be short, because you'll be able to easily turn off at 1,500 to 1,800 feet.
Okay, so now you're on short final and coming down to 50 feet (which is an arbitrary number for the sake of discussion; it'll change with every airplane type). This is where the magic begins and the graceful reunion with the ground is initiated. And "graceful" is the right adjective: There's nothing more graceful than a well-executed landing.
So now you're on short final at, say 70 mph, with the nose down. You want to contact the runway as close to stall speed as practical on the main gear (for a tricycle-gear airplane), and the nosegear will be held off the runway for as long as practical. That's a beautiful, graceful landing. Your position on short final is separated from your roll out on the runway by the process sometimes referred to as "the flair" or "round out." This consists of slowing the airplane down while simultaneously changing the attitude at a rate that gives up just the right amount of altitude so you gradually close on the ground. The attitude change will be such that it will put the mains on the runway with the nosegear clear. That's what you want to do. But there are some things you don't want to do.
For one thing, you don't want to come barreling down toward the runway and yank the airplane level at 10 feet while still showing approach speed on the clock (70 mph). This guarantees that the airplane is going to skate along in ground effect while you try hard to get rid of excess speed without ballooning, which can be a real chore.
 |
On the other hand, you don't want to start the nose coming up too early on final or you'll arrive in ground effect with a solid deceleration already in progress. If this happens, you'll set yourself up for an ugly surprise because when you pull the nose up to flair in ground effect, the speed, which was already in the process of going away, will fall right off the clock. This almost always results in the kind of touchdown we hope no one sees. The same thing holds true for the three or four dribbling touchdowns that result from the first one.
None of this is brain surgery. It's just a matter of careful attention to detail and pressuring the controls rather than asking for incremental movements. You're trying to be graceful, and changing the pressures at this critical time will make that happen.
WHAT YOU DO YOU WANT TO DO CAN BE SUMMED UP IN A FEW EASY STEPS:
1) ON SHORT FINAL, "BREAK" THE GLIDE.
At about 50 feet, bring the nose up just enough to start the airplane decelerating. This is a very small attitude change.
2) IF THERE'S A CROSSWIND, START CORRECTING FOR IT ON FINAL.
Regardless of the system you use (sideslip, crab and kick, etc.), you should start correcting for the crosswind immediately, generally with a crab. Closing on the runway, however, many pilots will begin a variation of the sideslip method: wing down into the wind and opposite rudder to keep the nose on the centerline. Often, this is done as the glide is broken.
3) GRADUALLY PULL THE AIRPLANE LEVEL AT ABOUT 10 FEET.
At that point, ground effect will be working for you, and the airplane will float. What you're aiming for is approximately four seconds of float. Much more than that indicates that you were fast. Much less, and you were slow: the deceleration caught up with you.
4) VISUALLY FIXATE ON (BOTH) SIDES OF THE RUNWAY SEVERAL HUNDRED FEET IN FRONT OF THE AIRPLANE.
This creates a visual triangle that increases both your depth perception and your awareness of any drift or tendency to turn.
5) BE AWARE OF THE NOSE ATTITUDE YOU WANT TO ATTAIN.
Contact the runway slightly nose high, but you don't want that attitude until you're within several feet of the runway. Be patient.
6) KEEP THE TAIL BEHIND THE NOSE.
You want the centerline of the airplane parallel and, hopefully, right on top of the centerline of the runway. You'll do that with rudders at the last second. If repositioning the airplane left and right, be sure to coordinate because adverse yaw is stronger at higher angles of attack.
7) KILL DRIFT WITH AILERON ONLY.
Don't automatically think of cross-controlling in a crosswind. Use ailerons to stop the drift. If the aileron required isn't enough to cause the nose to move, then you won't need rudder. If the aileron does cause the nose to move, then you just use your feet to keep the nose straight ahead and you'll be properly cross-controlled. Simple as that.
8) ON TOUCHDOWN, FIXATE ON THE NOSE AND DON'T LET IT FALL.
If you fixate on the forward edge of the cowling and the sides of the runway, then as you touch down, you'll see the cowling try to fall. Don't let it; hold it up with just a little backpressure. At the same time, too much backpressure may cause the airplane to lift off again. All you want to do is balance the airplane on the mains. But, as the airplane slows down, don't let the nose fall on its own accord. While the tail still has plenty of air in it, gently lower the nose to the runway.
[In the next issue, Budd will address the first 500 feet and how to prepare for a potential emergency.]
Subscribe to Our Newsletter
Get the latest Plane & Pilot Magazine stories delivered directly to your inbox

