
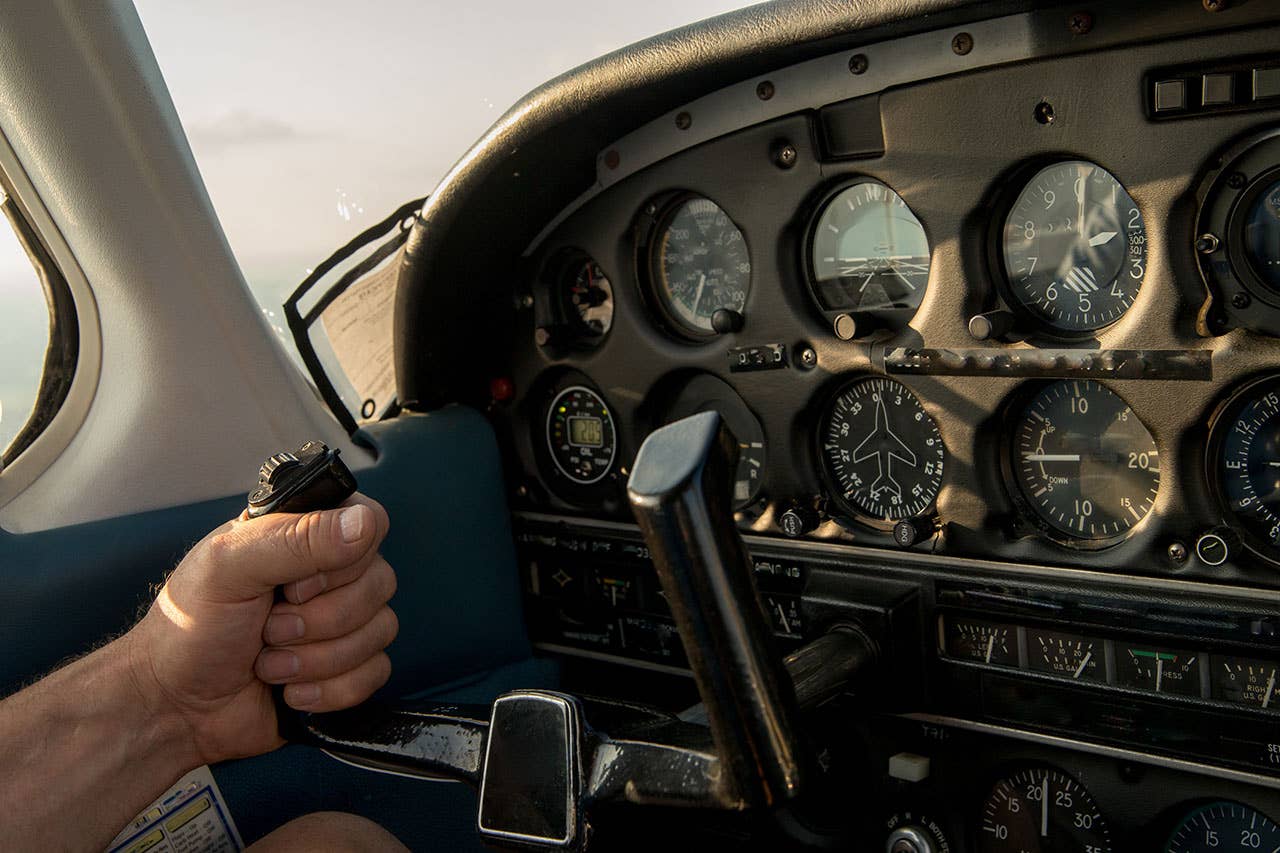
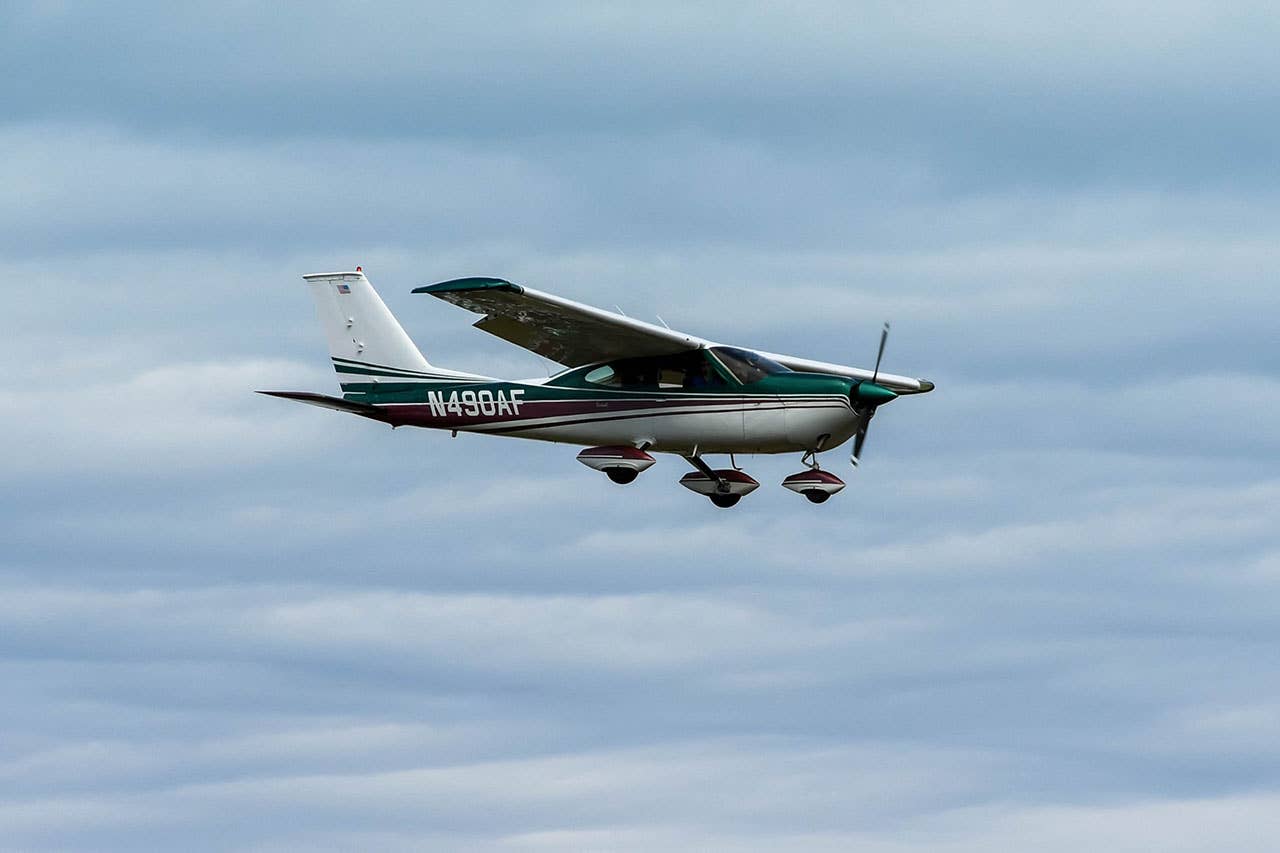
The Art of the Start
Every flight begins with an engine start. Without running engines, airplanes are simply inert objects of beauty, filled with potential but unable to perform their intended purpose. Our success, or…

the art of the start
Every flight begins with an engine start. Without running engines, airplanes are simply inert objects of beauty, filled with potential but unable to perform their intended purpose. Our success, or lack of it, when attempting to coerce an aircraft engine into life speaks volumes about our understanding of the processes involved.
It follows, then, that a pilot must always approach the engine start with a thorough knowledge of basic engine principles and follow the correct procedures to minimize the effort and time required. Nothing is more impressive than watching a crew chief bring a huge radial piston engine into smoke-wreathed life after the turning of a few lazy propeller blades. That minimalist display shows who is the true artist behind the cockpit's knobs and levers.
Pilots often devote most of their attention to the upcoming flight, with trip planning and weather challenges dominating their considerations. Getting the old bus started is an assumption, one that may result in dis- appointment if not followed through with due diligence. At the beginning of my career, the customary proce- dure to initiate flight began with a single determined flip of a propeller blade, conducted by hand. With proper preparation, the little Continental motor would immediately begin its gentle, breathy idle, and I could then release the precautionary tiedowns. Needless to say, there were many times when repetitive swings of the propeller, delivered with appropriate incantations,were required until I got the recipe just right.
Compared to those days, we have it easy. When teaching new pilots, I always have to begin with an introduction to engine operation, something that no longer readily continues from automotive acquaintance. No more choke valves these days. Cars start, and run, with no more than a twist of a key or a press of a button, operated by full-FADEC computer controls, regardless of the temperatures and pressures under the hood. Because we in aviation seek, above all, "bullet-proof" reliability from our powerplants, we are both blessed and saddled with 100-year-old technology. Our magnetos, carburetors and rudimentary fuel injection systems are stone-age simple and almost never quit working. But they require participation if we're to achieve mastery of the start.
And so, I have to instruct the beginning aviator to follow a checklist of procedures, rather than just strap in and twist the key to "start." A fuel supply valve may need to be turned on, perhaps in a couple of places; fuel pressure might need to be applied; and priming the engine's induction system will probably be necessary. After the start, continued observation of engine indications will require the pilot's attention. Full participation is expected; "this is not an automobile," I have to stress repeatedly.
BEFORE YOU DO IT YOUR WAY, TRY OUR WAY
Most frequently, when pilots tell me about their difficulty with an engine start, I ask them to describe the operating handbook's procedure, as if I didn't know what it said. They can't, and that's often the problem. Yes, there are short-cuts that can be tried, and there may be an underlying issue, but the basic fact is, the people who built the airplane had a system that worked best. Follow it, and you'll avoid a lot of frustration.
There are general principles that are key to engine operation, particularly getting it started. Good compression, tight induction runs, proper valve opening, and closing, and correct ignition timing are all necessary. But the most important ingredient is having the fuel supply uninterrupted, from tank to intake valve. All of us have left a mixture control in idle cut-off when cranking up, instead of pushing it back up to rich, and felt the sting of on-lookers' derision when the engine starts and immediately dies. The chants of "checklist, checklist" often follow.
"Handling such a conflagration requires a cool head and correct procedure---not an immediate evacuation to watch the aircraft burn up."
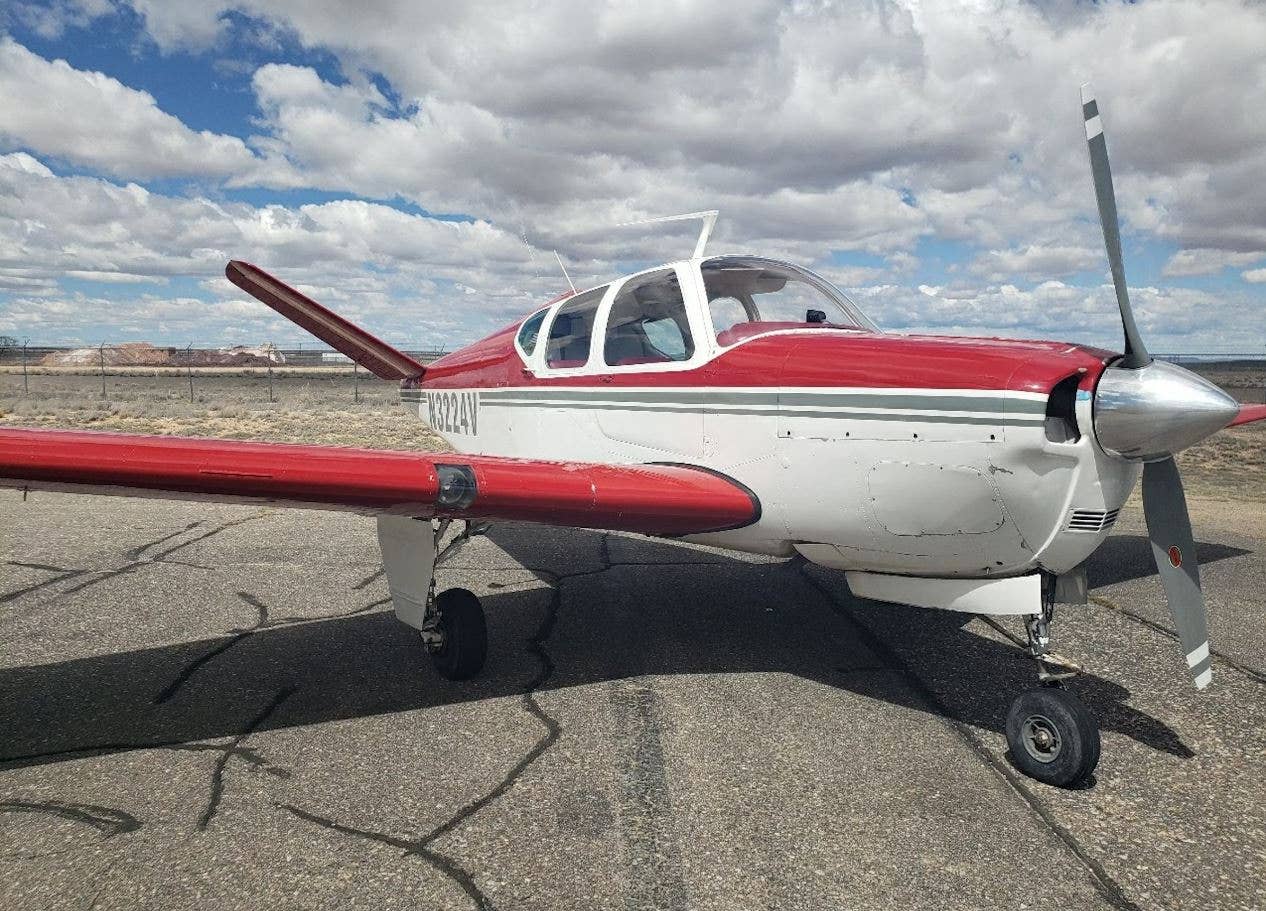
Like checklists, carburetors are unfamiliar beasts to modern students. Even if they know about them from vintage autos, airplane carbs are different, being underslung below the engine for visibility purposes, which is hardly their most desirable position because the fuel/air mixture has to be sucked upward into the cylinders. There's no choke control to richen the mixture when cold, and acceleration is often compromised under sudden throttle application. And automobiles, with their top-mounted carbs, don't need carburetor heat to avoid icing at the venturi. Rotax engines do have choke controls on their carbs, and as a result, they start beautifully with the choke on, needing only a little warm-up time to settle down, so the choke can be pushed off.
But, despite their drawbacks, aircraft carburetors are simple and reliable, exactly what we need on an aircraft engine. Getting one to initially vaporize fuel in a steady stream, particularly at cold temperatures, is a bit tricky, normally mandating an alternative means of getting fuel to the cylinders until the carb begins to do its job. A priming system simply pumps the gas through lines and nozzles routed into the induction piping, activated by a manual pump. Using the recommended number of strokes (less in warm weather, more in colder temps) and immediately cranking the engine before the fuel dissipates should begin ignition.
Carburetors usually have accelerator pumps that enrich the fuel mixture during rapid movement of the throttle to lessen stumbling. Many pilots try to "pump the throttle" to get the engine to run, just like their parents taught them to "pump the footfeed" in an old car. Overuse of this technique has caused many a carburetor fire when the engine backfires through the induction system and ignites pooled fuel downstream.
Handling such a conflagration requires a cool head and correct procedure---not an immediate evacuation to watch the aircraft burn up. Pull the mixture to idle cut-off and crank the engine with the starter, advancing the throttle to wide open. This will draw the fuel into the cylinders, extinguishing the fire by eliminating its supply source. If the engine starts when the excessively rich mixture is cleared, you may advance the mixture to normal and retard the throttle. Otherwise, continue cranking until the smoke and flames are gone.
Again, stick to the recommended starting technique, counting the primer strokes, opening the throttle slightly (termed "cracking the throttle") and using the boost pump as called for. Excessive priming washes the oil film off the cylinder walls. I often leave the primer pump extended while cranking, so it has a full charge that I can squeeze in if the engine starts to die after exhausting its initial priming fuel. If all goes well, I just slowly push the primer in and lock it.
FUEL INJECTION STARTING
Fuel injection, by comparison, swaps the cold-start headaches of the carburetor for some hot-start considerations. The two major engine builders, Lycoming and Continental, use different fuel-injection systems and require different starting techniques. And individual aircraft manufacturers can recommend customized methods. Again, read the POH and do it their way.
Even if you think you already know how to start a fuel-injection engine, consult the manual. The Beech Barons, for instance, call for full-rich mixture and use of boost pump for priming, EXCEPT for the pressurized Baron 58P, which is started in idle-cutoff after priming, advancing to rich as the engine begins to run.
All fuel injection systems (other than throttle-body injectors) need a source of fuel pressure for starting, usually an electric boost pump, aka auxiliary or standby pump. Having the pump operating brings fuel to the injectors if the mixture is advanced or keeps fuel flow at the ready if the mixture is in cut-off. Shutting the boost pump off also keeps fuel from flowing to the cylinders if the engine-driven pump isn't operating, so it's normally turned on at critical phases of flight, such as when taking off or landing.
The boost pump switch may have a "high" position as well as a "normal" or "low" setting. For starting, "high" is often used momentarily for adding priming fuel to the system, for a recommended number of seconds, or by referring to a fuel pressure gauge. The injection system is then pressurized, and the engine should start as soon as it's cranked, continuing to run as long as fuel pressure is maintained.
During fuel-injection starting attempts, there can be an interruption of fuel flow from exhausting the priming fuel, in which case more priming may be needed, either by momentarily advancing the mixture or turning on the boost pump, as recommended by the POH. During hot weather, particularly when restarting after a short shut-down, vapor may form in the heat-soaked fuel lines atop the engine. To clear this vapor, you'll need to run the boost pump to circulate liquid fuel through the lines, again per the POH.
It is possible to short-cut the fuel injection priming procedure after a shut-down in normal temperatures. Because there's still pressure in the system, cranking the engine can produce an immediate start, but to sustain the start, a quick shot of high-boost pump may be needed as the engine begins to die. If this fails, go back to the POH priming technique.
RESPECT THE STARTING MACHINERY
If you have trouble getting the engine to commence combustion, don't just keep cranking in a vain "more is better" attempt. Airplane starters are high-torque but lightweight devices, with specified duty cycle limits; exceed those limits, and you'll pay a hefty price. My policy is to count the propeller blades when I engage the starter; after two or three complete compression cycles, it's time to stop and do something different.
What do you do if the aged battery exhausts all its amps and the prop stops turning? Even though I proudly claim a history of outhouses and Armstrong starter motors, unless you're flying an antique plane, you shouldn't think about trying to pull the prop through by hand. That procedure was for older small-engine taildraggers, not today's fuel-injected, high- compression, big-block cruisers. Even if you get lucky and have the engine start without crippling you, your alternator will not put out current because it needs electricity to excite it into life. Your dead battery precludes such initiation of electron flow.
What you need to do is call for jumper cables or APU booster start service before the battery goes completely dead, as soon as the propeller slows down its snappy turning. Just be sure you follow the POH procedure; not every make and model uses the same jump-start technique.
Starting is an art. You can be an artist, or just try and try again, hoping to get a start. Learn the right way to do it, and you'll save wear and tear on your aircraft, and on your anxious nervous system. PP

Subscribe to Our Newsletter
Get the latest Plane & Pilot Magazine stories delivered directly to your inbox