
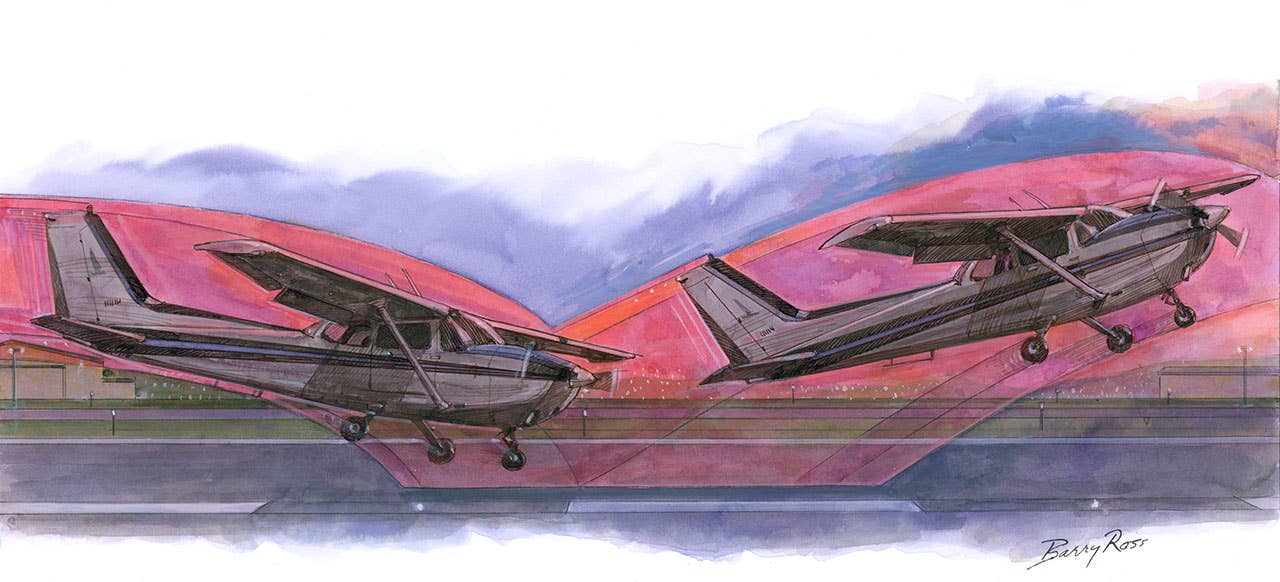
How To Use Your Plane’s Brakes
Every pilot thinks they know how to brake. Not many of them are right.

Bringing a speeding airborne airplane to a halt seems a simple enough process. Just plop it onto the runway, push on the brakes, and wait for it to slow down. If only it could be that simple. Alas, as with all things aeronautical, there's a little more to it than that.
Early in my career, stopping wasn't much of an issue. Our grass runways provided a certain amount of automatic deceleration, from the brushing effect of turf against tire, and the light trainer airplanes of the day landed at a slow pace to begin with, and their minuscule weight and substantial aerodynamic drag worked together to limit the braking required to reach taxi speed. (Then again, persuading the low-powered airplane to take off was a different story, though a subject for a dfferent article, as well.)
As we graduate into larger, heavier, faster aircraft, there reaches a point at which the takeoff and landing distances quoted in the pilot's handbook begin to equalize. Soon, we find the total distance required to approach and land over a 50-foot obstacle sometimes nears the length of a typical small-town runway. No longer can we safely assume all will be well. Now, we're forced to consider technique as part of the way to safely stop an airplane.
Brains Before Brakes
It sounds odd to say that braking begins well before the wheels touch the tarmac, but it's true. The process needs to begin with stabilizing the landing approach so as to arrive in the zone between runway numbers and fixed-distance markers, not with the stall horn blaring with only a safe margin over stall. By doing this, the touchdown can take place with plenty of runway left ahead of, rather than behind, the airplane.
Two issues often crop up that prevent this from happening in normal operation. One is a tendency to use a single, familiar-approach airspeed for every landing: long runway or short field, heavy weight or light load, gusting or calm winds, partial or full flaps. Instead, we should give thought to what approach speed is actually needed and modify it to suit the day's conditions.
The other issue isn't even knowing what the handbook says about achieving optimum landing performance. During our checkout, someone probably told us, "Bring her in at 80 or so," which we henceforth faithfully attempted to do, perhaps with a few extra knots "just to be safe." Don't want to stall out, ya know. You really need to consult the Normal Procedures section of your POH to see what the manufacturer recommends, and look at the landing tables in the Performance section, where you'll find the approach airspeed that was used to develop the numbers.
You may be shocked to find that the builder of your aircraft used speeds considerably lower than your normal arrival figure. Yes, it's true that those landing distance numbers were predicated on a new plane with fresh tires and brakes, flown by a test pilot who knew how to get the most out of them. But that doesn't mean you should be using twice or more of the published landing distance in order to get stopped. Most likely, you're flying down final too fast, in many cases much too fast.

Enough But Not Too Much
For certification, the FAA and its predecessor agencies have long relied on 1.3 times landing-configuration stall speed as sufficient airspeed to make an easily controllable landing in light airplanes. The problem is, pilots frequently confuse calibrated airspeed with indicated speed. Just because your airplane shows 45 knots when it stalls with flaps down doesn't mean it's really flying that slowly. An IAS vs. CAS table, if one exists in your POH, can show the effect of position error on the airspeed indicator's reading at high angles of attack, which is the reason for the recent surge in interest in AOA indicators. Nevertheless, an airspeed indicator can be used for repeatable performance, as long as conditions, configuration and weight do not change. Take the calibrated stall speed, add 30% and then see what the correction table says the indicated airspeed will be as you fly at 1.3 Vso, or that calibrated stall speed plus 30%.
Of course, an on-target approach speed doesn't mean you're going to land at that pace, right at the end of the descent. The purpose of flying at 1.3 times stall is to maintain enough reserve energy in the aircraft to carry the slight increase in weight that comes from G-loading as you flare from descent into level flight and to keep a safe margin over stall during the clean-up if you have to execute a last-second go-around. Gusts and wind shear also have to be accounted for in approach planning. Even so, you need to know what IAS will keep you safe and only carry that number across the approach lights, no more.
Crosswind operation has an effect on stopping distances, in that the benefit of an all-headwind component is lost and braking is slightly compromised if good controls application isn't maintained. In most cases, the effect is minor, but pilots may be tempted to use extra speed for their approach because they think it's required for added control during the crosswind landing. Don't pad the numbers excessively just because a crosswind is present. Most importantly, factor the tailwind or headwind effect into your base leg planning, which can cause you to wind up higher or lower than you might normally be when you roll out onto final. Many a bad landing started with sloppy speed control on base.
Once the correct approach speed is in hand, be sure you're flying toward a spot in the first part of the runway, not halfway down it. During a stable approach, there will be a motionless spot, hopefully on the first part of the runway, toward which you're traveling. Look for that paint or tire-mark aiming point to stay steady in your windshield as all other bits of scenery move downward, under the nose, or upward, toward the top of the windscreen. This motionless point is not where you're going to touch down, unless you've been trained to land on an aircraft carrier, because there will be a flareout and float during hold-off that will consume a few hundred feet of runway. Aim for the numbers, but don't expect to land on them.
All kinetic energy you carry into the flare has to be dissipated in order to stop, so don't be too casual in getting rid of it. Make sure you've brought the throttle(s) to idle as you level off, and get rid of any excess airspeed before you descend into ground effect, the drag-reducing layer of air that extends about one wingspan above the runway. Don't try to "plant" the wheels to get on the brakes quickly, just allow the plane to land normally, dissipating speed to assure that weight will immediately begin transferring to the wheels.
Down And Rolling
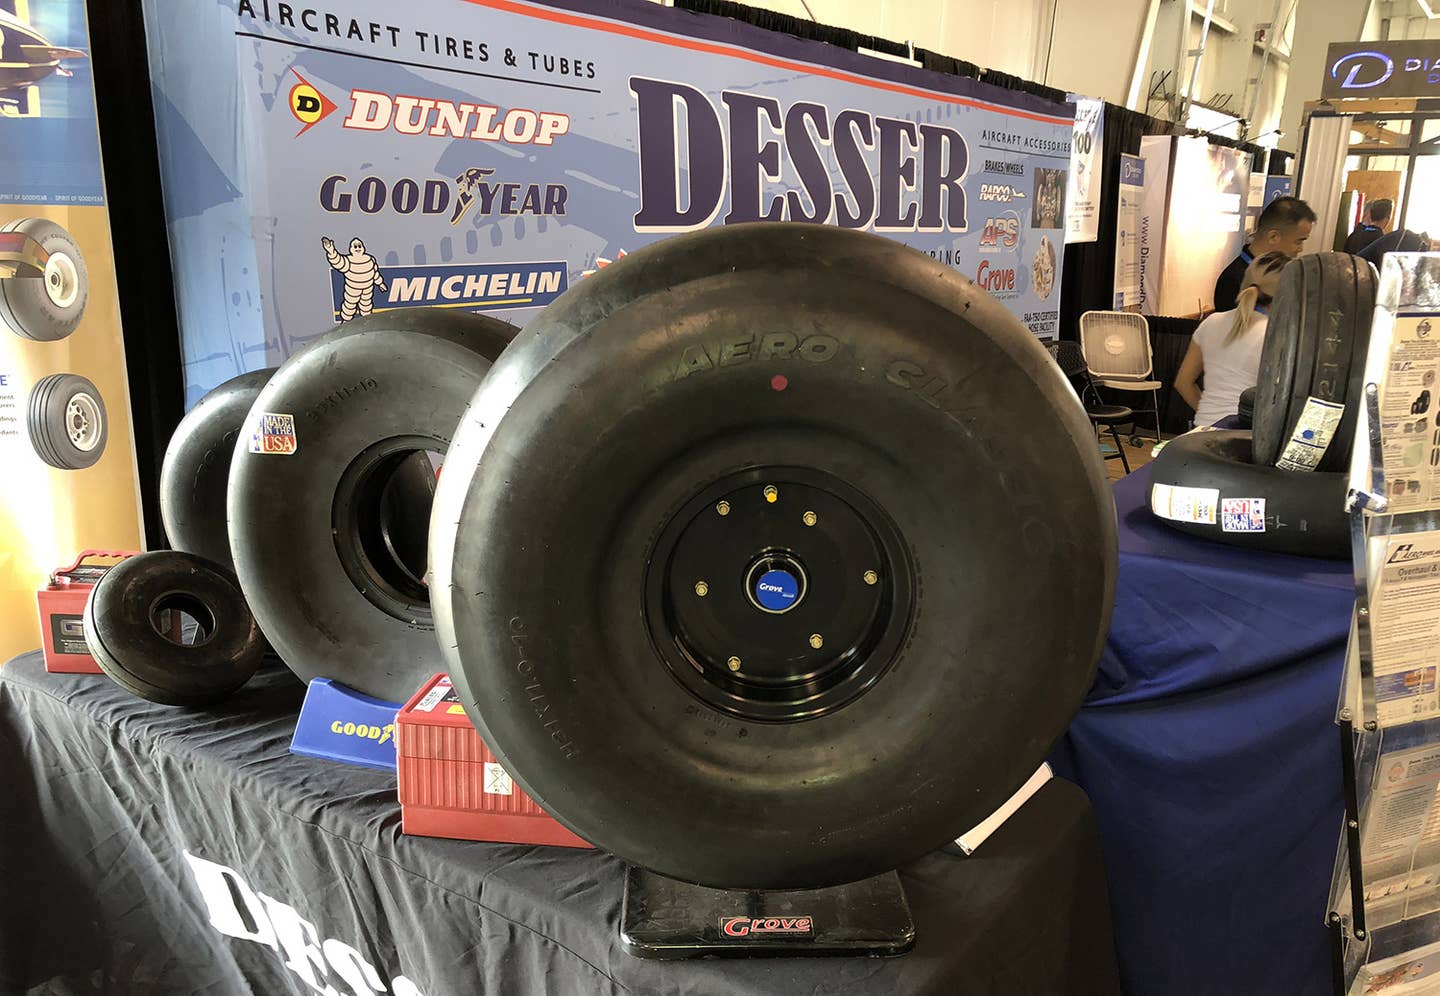
From touchdown on, the runway surface condition plays a big role in your ability to slow the aircraft. If the pavement is really wet, hydroplaning is a definite risk; the tires will "surf" on a layer of water rather than spin up, providing no braking. To minimize hydroplaning, touch down at slow speed with a firm "dropped in" contact force, which breaks through the water to achieve spin-up.
On a dry runway, apply maximum braking as soon as full weight is on the wheels. Many flight manuals recommend raising flaps right after touchdown to remove residual lift. This carries the risk of inadvertent landing gear retraction, which certainly slows the airplane quickly but requires a lot of power to taxi. Rather than suck the flaps up, I prefer to leave them extended for aerodynamic braking and hold the yoke back to elevate the nose strut, keeping the wings, tail and fuselage at an angle that adds drag during the rollout. This technique will vary depending on the plane you fly.
Are you an aviation enthusiast or pilot? Sign up for our newsletter, full of tips, reviews and more!
If you've battled a crosswind to arrive one-wing-low, beware of immediate braking; make sure the downwind wheel is firmly in contact with the pavement. Don't brake hard enough to lock up the tires---tires are expensive, and that squeak you hear on landing is the sound of money leaking out of your bank account. Instead, stand on the pedals firmly and hold the pressure. Pumping the brakes "for cooling" only lessens overall speed reduction and results in a jerky arrival for your passengers. So apply and hold brake pressure, especially early in the rollout, for the most effective stopping. Don't wait until the red lenses of the runway end lights loom in the windshield to make a panic stop. Brake early and continuously. Don't be too gentle either. Use the brakes. That's what they're for.
Air traffic controllers seem to be ever more prone to issue commands to exit at specific taxiways or seek a response about parking while we're still in the early stages of a landing rollout. If you aren't able to comply, respond with "Unable" right away and deal with control of the aircraft first. If you were issued a "Land and Hold Short" landing clearance, you are expected to carry it out because you accepted it as issued. The time to refuse a LAHSO is when it's first brought up, not after you're on the rollout.
Can you match the rollout figure shown in your POH? Maybe, if your equipment is in good shape, but you probably don't want to abuse your wheels, brakes and tires just to prove a point. Most of the benefit of short-landing performance is gained by a stable, slow, on-target approach and touchdown. Once down, braking finishes the job.
Subscribe to Our Newsletter
Get the latest Plane & Pilot Magazine stories delivered directly to your inbox