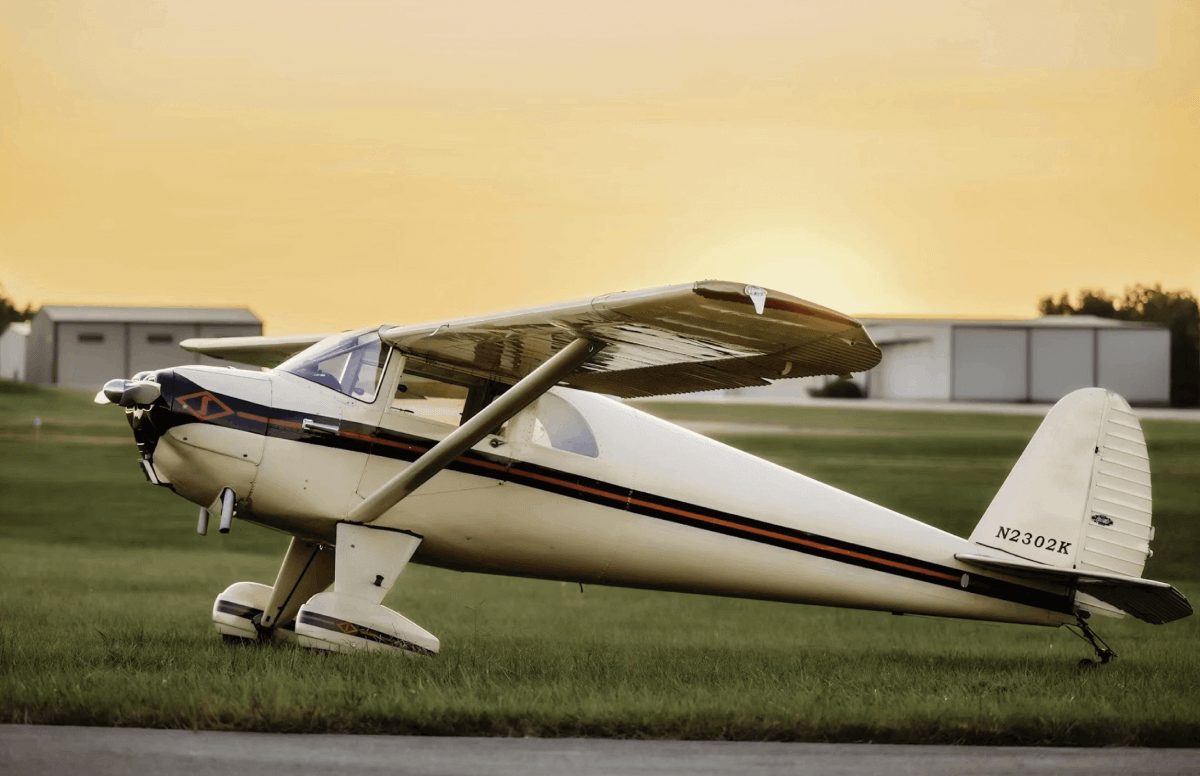
Two words that will strike fear into any general aviation aircraft owner are “annual inspection.” Face it, most of us fly airplanes from the golden age of general aviation, so your airplane is probably at least 30 years old. My airplane is getting ready to celebrate 47 candles. Since it comes around every year, and can be the biggest contributor to our yearly cost of operation, it would be in our best interest to do all that we can to lower the cost of our preventive maintenance.
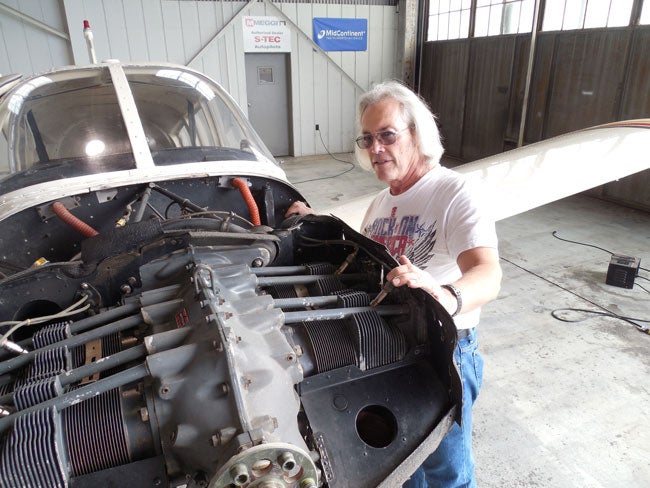
Owner-assisted annuals are a great way to save some money and learn about your own airplane at the same time. The first and most important thing that you must do is establish a relationship with a shop near your home (or, be prepared to spend some time in a motel). Obviously, large shops that specialize in keeping corporate airplanes ready for business might not be agreeable with the slower pace of an amateur mechanic. What you’re looking for is a medium-sized shop, one that doesn’t need all of your remaining money to make the rent, yet is accommodating to the customer. I was lucky. The airport where I learned to fly, and where my airplane has been based for quite a few years, has the type of maintenance shop I needed.
Before I bought my airplane, I assisted with the pre-buy inspection done by my local maintenance shop. It’s not always a good practice to use the same shop that has serviced the airplane, but since I planned on participating, I felt comfortable with using their services. After all, I learned to fly in airplanes that were maintained by them. Jim, the shop manager, asked me if I was just going to observe, or did I want to participate. I told him that I felt comfortable with participating. He said, “Grab a screwdriver and some parts bags and start opening up panels.”
Normally, you’ll be assigned to work with a mechanic who holds a mechanic certificate. There are several sections of FAR 43 that are applicable to an owner-assisted annual inspection. FAR 43.3 (d) allows a person working under the supervision of a holder of a mechanic or repairman certificate to perform work on an airplane. This provision allows prospective mechanics to train in a shop environment. Also, FAR 43.3 (g) allows a holder of a pilot certificate to perform preventive maintenance on an airplane that’s owned or operated by that pilot, as long as it’s not used for hire under other FAR provisions. While we’re digging through the FAR Part 43, you’ll also come across the definition of preventive maintenance in Appendix A and what should be accomplished during an annual inspection in FAR 43, Appendix D.
You should spend some time with your mechanic learning about your logbooks. You’ll learn how they document their inspections and any Airworthiness Directives (ADs) and Service Bulletins (SBs) that are called for on your specific airframe and serial number. The ADs are “must-do” tasks and require compliance. Most SBs are “should do,” so you’re not required to comply with all of them. Tread lightly if you choose not to comply with them; it may affect your insurance.
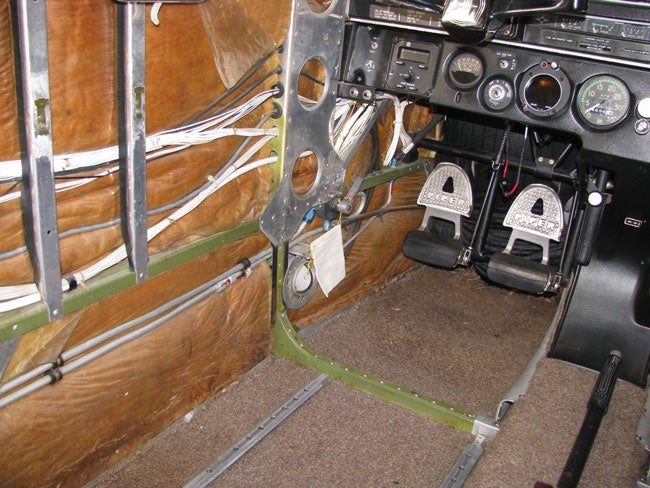
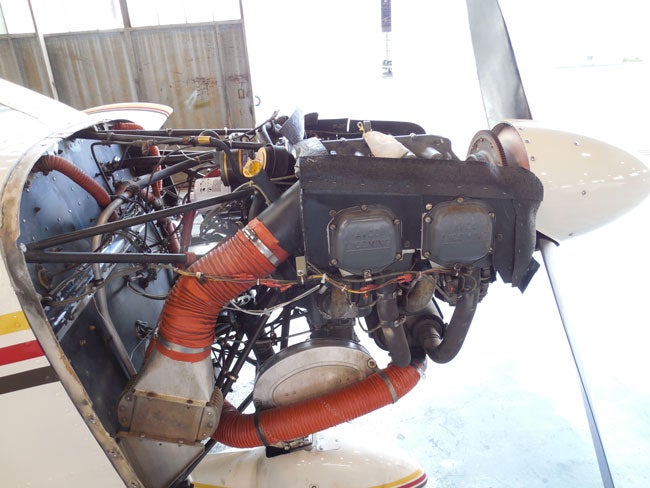
What it really comes down to is this: All of the removable coverings, such as engine cowls, access covers, inspections plates, seats and wheel coverings must be removed from the airplane in order to allow an inspection by a qualified mechanic. After the inspection has been completed, the airplane must be put back together. Most of these parts can be removed with a screwdriver and a 3/8″ drive socket set. This is what can really save you money, because it’s very time consuming. If you can turn a screwdriver, every hour that you spend taking things apart is an hour that your mechanic doesn’t charge. As you gain confidence taking a panel off, you’ll realize that you can reinstall those panels afterward.
Once you have your inspection panels off, take out your flashlight and look inside your airplane. Ask your mechanic about what the various components are and how they work. Look for leaks or signs of corrosion. Wiggle things that should be solid and see if they wiggle. If you see something that looks suspicious, bring it to the attention of your mechanic. The more eyes that look, the better the inspection, and sometimes untrained eyes can see things that might go unnoticed by an expert. If you have a problem, it’s better to find it on the ground instead of in the air. Just keep in mind that the official inspection must be made by your mechanic. Don’t close anything up until he tells you that he’s finished with inspecting that area.
If you’ve ever done an oil change on your car or lubricated grease fittings on your suspension, you can help with that as well. If you ask, your mechanic will show you how to safety wire the oil filter to the engine. He’ll probably even allow you to do it if you want to. As they say, safety wire is cheap and plentiful in an aviation shop. If you don’t like the way it looks, cut it off and try it again.
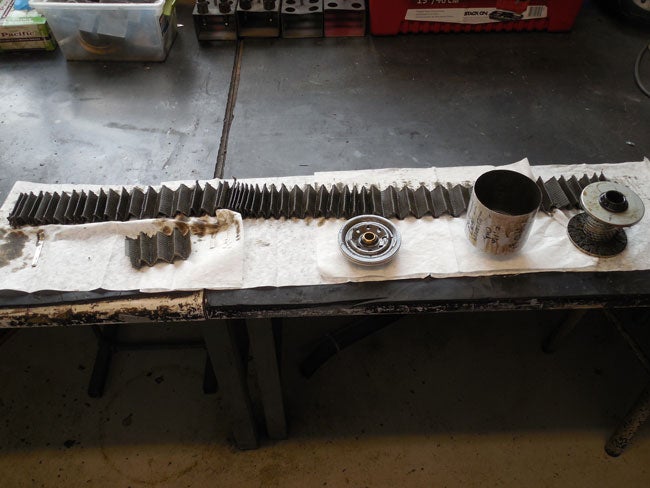
Speaking of safety wire, you should look at the way any fasteners are wired before you cut the wire, maybe even take a picture for future reference. The purpose of the safety wire is to prevent a fastener from moving once it has been tightened. It’s both a skill and an art form. I learned that during my first annual. During my pre-buy, I determined that the alternator belt needed to be replaced, so the propeller had to be removed. I was given the task of safety wiring the fasteners afterwards. My safety wiring effort was finally approved (it took several tries), but when my spinner came off during my next annual, one of my safety wires had vibrated loose from the fastener.
My mechanic gave me another lesson and demonstrated his technique for “popping” the wire. This made the wire conform to the bolt head and keep it tight. He also showed me how the wire should be positioned to ensure that it wouldn’t roll over the top of the fastener. I was proud of my efforts this year when the spinner came off and all of the wires were still good and tight.
While you have your airplane open, take some good-quality pictures of all the exposed parts. They might come in handy some time as a reference.
Your mechanic will develop a list of discrepancies as he inspects your airplane. He may mark them with piece of tape or some other visual aid. He’ll carefully document those issues (or squawks) and suggest a resolution. This is where most of the horror stories arise. The Annual Inspection cost that’s quoted may be very reasonable, but the repair costs could be what drives the final bill through the roof. Some of the issues that are discovered can be deferred to a later time, if, and only if, it doesn’t affect the airworthiness of the airplane.

As an example, your tires may be showing some wear. Some of the wear can be compensated by flipping the tire in the rim. Anyone who has changed a bicycle tire can do the work, and you can save some money by doing it yourself. However, if you don’t feel comfortable doing the work, the shop will be charging around $90 an hour for your mechanic, and it may be better to wait and replace the tire when it becomes necessary, since it takes the same amount of effort to flip the tire as it does to replace it.
If a squawk is serious, and your mechanic grounds your airplane due to an airworthiness issue, you must have the problem resolved before the airplane can be returned to service. This year, my mechanic discovered that a pulley for my aileron rigging stopped moving and would eventually damage the very expensive, and very necessary, control cables. He was able to replace the pulley and I avoided a very dangerous situation.
All the work must be documented in the appropriate logbooks (engine and airframe) with proper entries, and the work must be signed off. That signoff is done by someone with Inspection Authorization (IA) authority, again per FAR 43.7.
Once your annual has been completed, your airplane must be test flown before it can be returned to normal service. If you hold a pilot certificate, you may perform that test flight.
What do you need in the way of tools? For starters, a 1/4″ and a 3/8″ socket set, a complete combination wrench set and a good screwdriver set can be purchased at most hardware stores for less than $50. Bring several flashlights and batteries. An inspection mirror will allow you to do your own looking. Get yourself some wire-cutters and needle-nose pliers—eventually you’ll want your own safety wire pliers—and buy some .032″ stainless-steel safety wire. It’s the most commonly used size.
If you need a different size, you can get it from your mechanic. Most mechanics that you work with will allow you to use their personal tools. Keep in mind that this is how they earn their living and treat those tools with respect. Let them know what you need, and return the tool quickly and cleaned up and ready for use again. Also, keep track of all tools; if a tool is missing from the toolbox (believe me, he’ll know), and you used it, you might have to take the airplane apart until you find it. Loose tools inside an airframe are very dangerous.
Your mechanic will watch you as you work. If he sees that your work follows acceptable shop standards, he’ll allow you to do more, if you care to try. Don’t worry, he’s checking your work after you complete a task. However, if you can’t seem to tighten a screw without stripping the threads, you might be asked to just watch.
And, finally, let the guys in the shop know how much you appreciate them for allowing you to work in their shop. I always buy breakfast for the shop as a thank you. And, let the shop owner know how much you appreciate him for helping you keep your flying budget a bit lower. Remember, he’s putting the reputation of his shop on the line, so make sure that he’s aware of everything that you do, so that it can be properly inspected.
Can an owner-assisted annual save you money? The answer is yes. How much it saves will be determined by how much you’re willing and able to do as the owner. If your comfort level ends with removing some inspection plates, your savings will be small, but your knowledge of your own airplane, and the general condition it’s in, will be so much greater. I’ve been able to save approximately half the cost of my annual, and since I’m able to do much of my own work, most of my repairs only cost me the price of the parts.
I guarantee that, after you’ve performed an owner-assisted annual on your airplane, your pre-flight inspection will be done with more attention to the important things that you need to stay in the air. Not only that, you’ll develop a relationship with a great bunch of people who share your desire to keep your bird in the air. And, you’ll be able to discuss any future issues that may develop.
May all your squawks be simple and inexpensive.
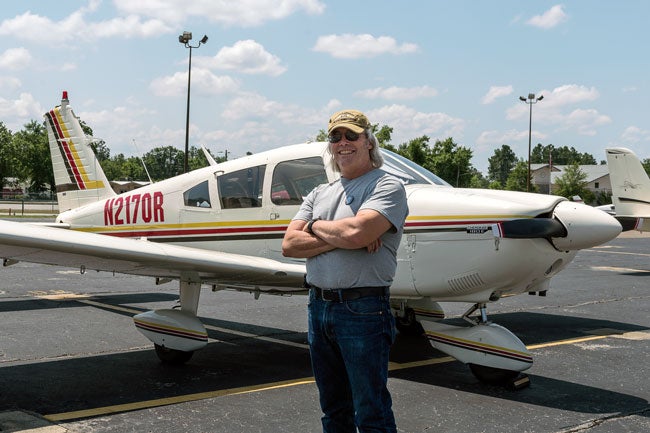
Denny Kotz is a retired Mechanical Engineer who, after a lifetime of dreaming about flying, earned his certificate at the age of 63.A native of Sandusky, Ohio, he has lived in North Augusta, South Carolina since 1981. Another one of his passions is performing music, and he is a member of the Flying Musicians Association. He would like to thank everyone at Augusta Aviation, Inc. (KDNL) for all of their support and encouragement.