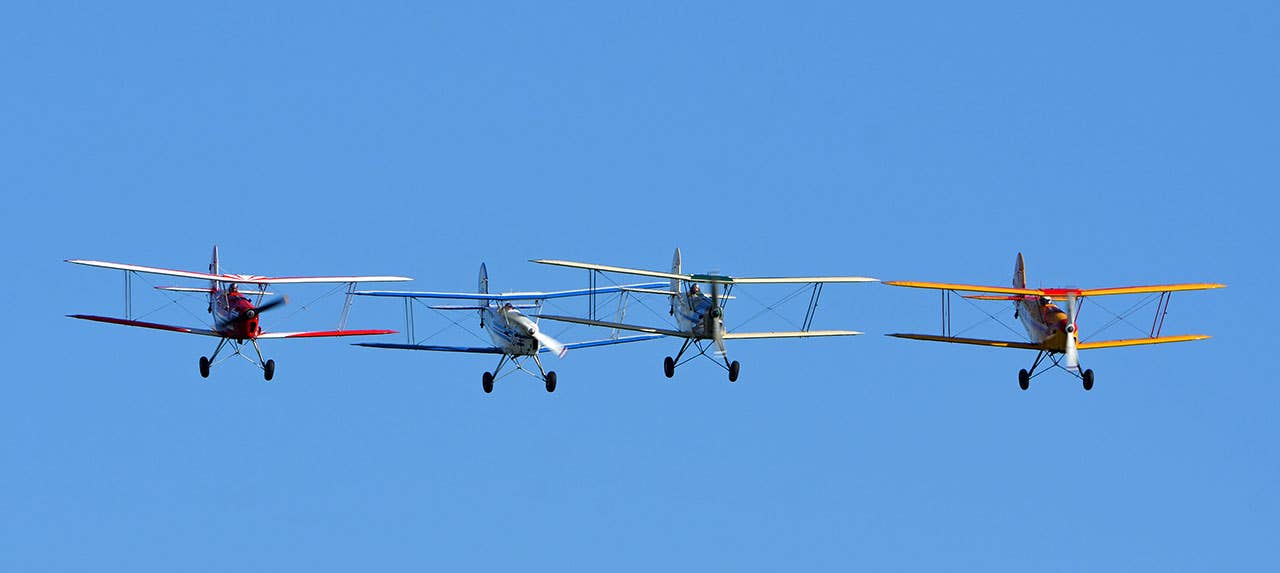
Rusty Pilot Practice Plan
A short-but-sweet batch of maneuvers that any pilot can use to brush up on their skills between those flight reviews.
Let's face it. Your logbook has dust on it, and your pilot certificate has rust on it. Your flight review is still current, but you haven't been flying much lately. Be honest---how long has it been since you've done some serious flying? A month or two? Last spring? A year ago?
Passing a flight review doesn't exactly make you a sharp pilot. A couple of hours of training every two years may satisfy the regulations, but between those endorsements, you must satisfy your own standards of excellence. After all, you have to be pretty sloppy to keep a CFI from signing off a flight review. Rather than accept your deteriorated state, take some steps to hone your skills to a fine edge when you go back into the air after a layoff.
We all know that flying an aircraft is like riding a bicycle; we never really forget how, but we can certainly get out of practice. We might wobble a little when we first pedal off down the street, but after a day or two of relearning, we can turn the handlebars loose and lean around corners, just like the old days. Nevertheless, we're going to feel uncertain until the rusty skills get some elbow grease.
The problem is not that your brain has forgotten how to fly but your hands have. As a tactile endeavor, manipulating the controls to achieve precision flight takes practice. Don't be too proud to seek out assistance to rebuild your skills.
You probably know your own airplane, or the one you regularly rent, fairly well. But being familiar with it leads to bad habits, ones you might not even be aware of, so having a trusted CFI watch you go through your rusty renewal will speed up your reacquisition of basic skills while helping you get rid of the bad habits you've picked up along the way. Yes, you can teach yourself to fly again, but it's quicker to do it with help. You won't know that you skipped over two items on the checklist, but the instructor watching you will, and having it pointed out reinforces your desire to do better.
That said, go flying by yourself as soon as your confidence is reestablished. You can get much more productive skill-building done when flying solo than with the divided attention that is unavoidable with a shared cockpit. If you really want a buddy along, make sure to impose a "sterile cockpit" no-talking procedure at critical moments during the flight.
Sharpening Up
No matter how you decide to get started again after a lengthy layoff, any flying is better than nothing. Dedication to improvement is the key to regaining skills, encouraging growth as a pilot. He who stops trying to get better!soon stops being good. Basic airwork is simply locking onto the correct relationship of attitude and power to achieve a goal. During climbout, for instance, try to seek a nose attitude that will keep the indicated airspeed on an exact number, not a range of acceptable climb speeds. Power is already stable at the climb setting, so it's simply a matter of trimming to allow a light touch in pitch control. The goal is to stay on target, not by moving the stick fore and aft to direct the ASI needle but by adjusting pitch attitude, so the airspeed rests where it's desired. Flying the airspeed reading is inherently frustrating because there's always a second of lag between hand movement and speed change, so you're always chasing the needle or tape. Instead, fly by attitude, and simply verify the result by glancing at the indicated airspeed once in a while.
Real Straight And Level
Level off by leading the climb rate so that the airplane comes to rest in level flight exactly on the target altitude. Make no power adjustment until airspeed approaches the normal cruise number, at which point you can reduce to cruise power and make the final trim tweak. Do not accept an approximation of a hard altitude; my criteria is to try to keep the altitude within 50 feet, because transponders report altitude to the nearest hundred-foot figure, and I want to imagine my ATC read-out remaining stable. Straying over 50 feet up or down clicks the displayed number to the next higher or lower figure. Once settled in to level cruise, I may tighten up to 25 feet or less of tolerance, just for practice.
Does such slavish concentration on perfect performance inhibit watching for other airplanes? No, because our primary references are outside, if in visual conditions; we only check the altitude briefly, every five seconds or 10 seconds. If the air isn't stable, of course, we have to allow ourselves brief excursions in up- and down-drafts. Deal with them in the following sequence: use light stick force or trim to effectther a slight change in angle of attack for small corrections, and, then, for larger corrections, adjust power, if necessary, to assist in moving back to the desired altitude. Do not allow airspeed to deviate more than 2 or 3 knots without changing power. Lastly, adjust trim again to restabilize, only after the correction is finished.
Basic Maneuvers
When practicing simple turns, the objective is to keep a target airspeed or altitude while holding a constant bank. Don't let bank angle wobble; slipping into a steeper-than-desired bank encourages altitude loss, while shallowing out produces a climb. After getting the feel of the aircraft and its level-flight sight picture, make a few circles in a 30-degree bank, then raise the bar by doing some 45-degree banked turns. In these steeper turns, you may need to add a little power to overcome the increased wing loading, unless you can afford to lose airspeed while you're in the wind-up period. I like to keep the steep turn going for two full circles; I might get lucky for one turn in smooth air, but the second 360 will have to be flown in the first turn's turbulence, presenting an added challenge. There's a certain satisfaction in feeling the little bump that comes by hitting one's wake at rollout on the entry heading, even if we know the wake does settle a bit.
Practicing airspeed changes in level flight provides another challenge. From cruise speed, slow the aircraft to a target slow-flight speed, perhaps 10 knots above a stall indication. Reduce power sufficiently to avoid climbing as you slow down, but stay far enough above idle to keep the rate of deceleration manageable. As you approach the target speed, anticipate the power required to hold level flight and spool up the engine a few knots early. The goal is to be at the same altitude as you were at the beginning, on the same heading, parked precisely in slower flight. You're juggling three balls in the air at once: airspeed, controlled by pitch changes; altitude, responding to power adjustment; and heading, using rudder to offset torque changes during speed and power changes. Nail the three into immobility. Then, keep using the same control inputs as you recover into level cruise. To add complexity, make configuration changes during the slow-down and speed-up, extending or retracting flaps and gear. That will require making more attitude and power changes to maintain stable flight.
While you're already slowed down, why not explore a stall or two? If you're uneasy about putting your airplane into a stall, it's probably because you've avoided practicing a stall-and-recovery sequence for far too long. A certificated airplane, loaded in its normal center of gravity range, is easily recoverable from a simple stall with an altitude loss of 200 feet or less. Given a safe AGL altitude of 2,000 feet or so, decelerate at a 1-knot-per-second rate until the onset of stall buffet or loss-of-control is felt. Beware of yawed flight at this point; the stick or yoke should remain neutral in roll, and rudder pressure should be applied as needed to hold the slip ball in center. Never attempt to stall an airplane while holding a wing up with an uncentered stick. As soon as the stall manifests itself, briskly move the stick forward and stop any turn with opposite rudder. Increasing power minimizes altitude loss, but it's not the primary means of stall recovery.
Commercial Grade Challenges
Once you've regained some skill and are feeling comfortable with the aircraft, doing some lazy eights and chandelles gives a heightened challenge---as long as you continue to seek perfection, not just exhilarate in banking-and-yanking. There are many ways to steer an airplane through these commercial-grade maneuvers, but not all of them are valuable for self-improvement. The intent is to fly them smoothly and with precision, not just to do zooms and wingovers.
The chandelle is simply a 180-degree climbing turn, done while reducing airspeed from entry speed to just above stall, as a means of maximizing altitude gain. Start by rolling into a target maximum bank angle, then pull the nose up, maintaining constant bank while applying full climb power. The G-load applied at pull-up should result in achieving maximum pitch attitude at the 90-degree point; after reaching this point, bank is gradually reduced during another 90 degrees of turn as airspeed dissipates to just above stalling speed. We then recover into level flight without sacrificing any of the hard-won altitude. This will require constant stick-and-rudder adjustment in fine increments as the airplane slows and changes bank angle, with careful timing of the rates of deceleration and heading change. Done well, it's a satisfying maneuver.
The lazy eight is a constant flow of pitch and roll inputs that place the airplane at specific points over an imaginary recumbent "figure eight" centered on the horizon. For an added challenge, it may be done over a ground line of reference, reaching out to the horizon, that's aligned into the prevailing wind aloft, providing an axis for the maneuver. Graphically simple, the lazy eight is frustratingly difficult when deliberately flown in a slow, "lazy" manner. Avoid the temptation to slop through a couple of knife-edge wing-overs and call it a lazy eight. While fun, that doesn't build much skill with an airplane.
Entry to the lazy eight is a simultaneous pull-up and roll-in, timed to reach maximum pitch attitude at a point 45 degrees from the entry heading, airspeed continually decreasing through the 45 degrees of heading change. Bank continues to increase while you lower the nose to reach the horizon at the 90-degree point, then bank is decreased as the nose continues below the horizon to a 135-degree change from entry direction, as the lost airspeed is regained. Roll-out is continued for the next 45 degrees of turn, while the nose is raised to the horizon, reaching wings-level after 180 degrees of heading change, with airspeed and altitude exactly as they were when you entered, crossing the ground-reference axis. Without hesitation, roll-in and pitch-up are begun in the opposite directions, clicking precisely through the 45-, 90-, 135- and 180-degree key positions as before. A well-flown lazy eight is a beautiful sequence of ever-changing control forces. It should be an unhurried maneuver, flown without ever pausing in a stable flight attitude.
Returning To Base
To cap off a great practice session, aim for perfection even in the let-down to the traffic pattern entry. Descent planning involves a simple exchange of energy, sacrificing stored altitude at a rate targeted to reach level flight just prior to entering the traffic pattern. GPS makes this simple, as you can easily determine how many minutes you'll need to let down from your altitude above the pattern while using a constant rate of descent; I use 500 fpm for unpressurized light airplanes, or 300 fpm if passengers need careful handling.
When the time-to-destination readout approaches the minutes-required figure, walk the power back and nudge the nose into descent attitude; allow extra time for the descent rate to stabilize and, if you want to build up speed to get home quicker, start down a bit earlier in anticipation of increased ground speed. Unless you have an automatic turbocharger wastegate, you'll need to manage the manifold pressure increase during descent, and you should be ready to slow down if the ride gets rough at lower altitude. If done correctly, you'll level off and coast into the pattern while slowing to an initial arrival speed, compatible with other planes, without making further power changes.
If you haven't flown for a significant amount of time, begin by taking an instructor with you, or at least invite an experienced current-in-type pilot to ride along. But then, put in some solo time. Be hard on yourself, seeking elusive perfection but taking satisfaction in any improvement you earn. Like with bicycling, the ability is still there, under layers of rust. All you need is to take up the challenge and get ready to fly again.
Subscribe to Our Newsletter
Get the latest Plane & Pilot Magazine stories delivered directly to your inbox


