
Updating The Seatbelts In A Used Skylane
Our ’64 182 needed new belts. How we did it and how much it cost.
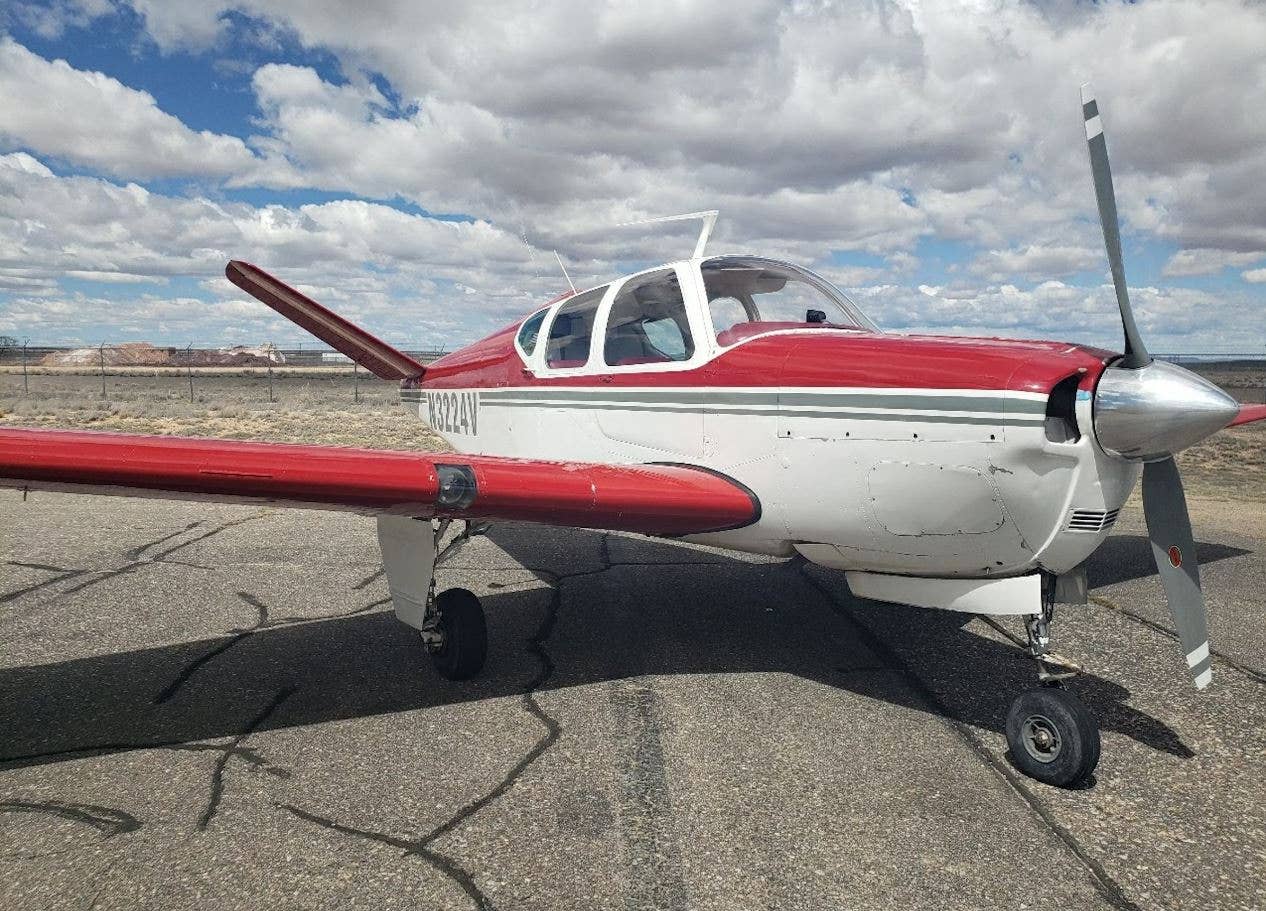
The 1964 Cessna 182G was a beautiful airplane, with great paint and a solid airframe. Its interior was passable, though clearly a bit long in the tooth, but the avionics were in dire need of updating. The original engine had good compression and relatively low time since an overhaul 20 years ago, though it would likely need some work in the years to come. The prop looks like new, even if it was 12 years old. So, what was the best way to spend a little dough making this airplane safer? It was, somewhat surprisingly, updating the seat belts.

We had no idea where to start on this--seatbelts are about the least sexy mod out there---but it was clear that the old ones needed replacement.
Though we researched the subject, we weren't able to figure out just when Cessna began putting shoulder harnesses into its airplanes, but the 1964 Skylane might have been one of the first years for the option. The original belts were in surprisingly good condition, though their design was odd. The single shoulder harness ended in a loop through which you threaded the lap belt before buckling it. It felt for all the world that one wrong move could flip open the seatbelt fastener, but over the course of 20 hours of flying the bird with the old belts, that didn't happen.
That wasn't all that was odd, though. The attachment to the roof structure was made with a single stainless-steel screw that looked none too beefy. After 53 years, how would it have held up in a crash? one shudders to imagine. Maybe it would have slowed the occupant down a little before greeting the panel in the worst way possible, if it would do even that.

We did some research and found that, while there are other options, an inertia reel set of restraints from B.A.S. was getting a lot of love from folks in the vintage Cessna community. A pair of four-point restraints in my plane's color would go for just over $1,400 at the time. The installation would probably add another $400 to $500 to that, for a grand total of just under $2,000 installed. That's a lot of dough for a $50,000 airplane, but the thought of an unplanned off-airport landing was all it took to get the process going.

As luck would have it, Walter Lansing, was as experienced as anyone at putting these belts in, as he'd done more than a dozen installs in Redbird's RedHawk 172 conversions, a short-lived 172 conversion program that Redbird began around 10 years ago. Walter took less than a day to get the job done and it came out beautifully, as you can see here.
The belts are not only secured to modern standards, but they're also incredibly comfortable. We opted "Utility"-style buckles, with the shoulder straps having slotted blades that slide through the tongue of the lap belt. When you're not flying, they hang out of the way in back of the seat.
From a comfort point of view, the belts were a hit, soft and pliable to the touch, easy to use and comfortable. The inertia reels are silky smooth, but when given a good yank will stop you in your tracks. And, heaven forbid, should one would ever need to depend on them, it's a great bet they will pay for themselves.
Visit B.A.S. Inc.
Want to read more about building and modifying aircraft? Check out our Modifications Archive.


Subscribe to Our Newsletter
Get the latest Plane & Pilot Magazine stories delivered directly to your inbox