Sign up for our newsletter, full of tips, reviews and much more!
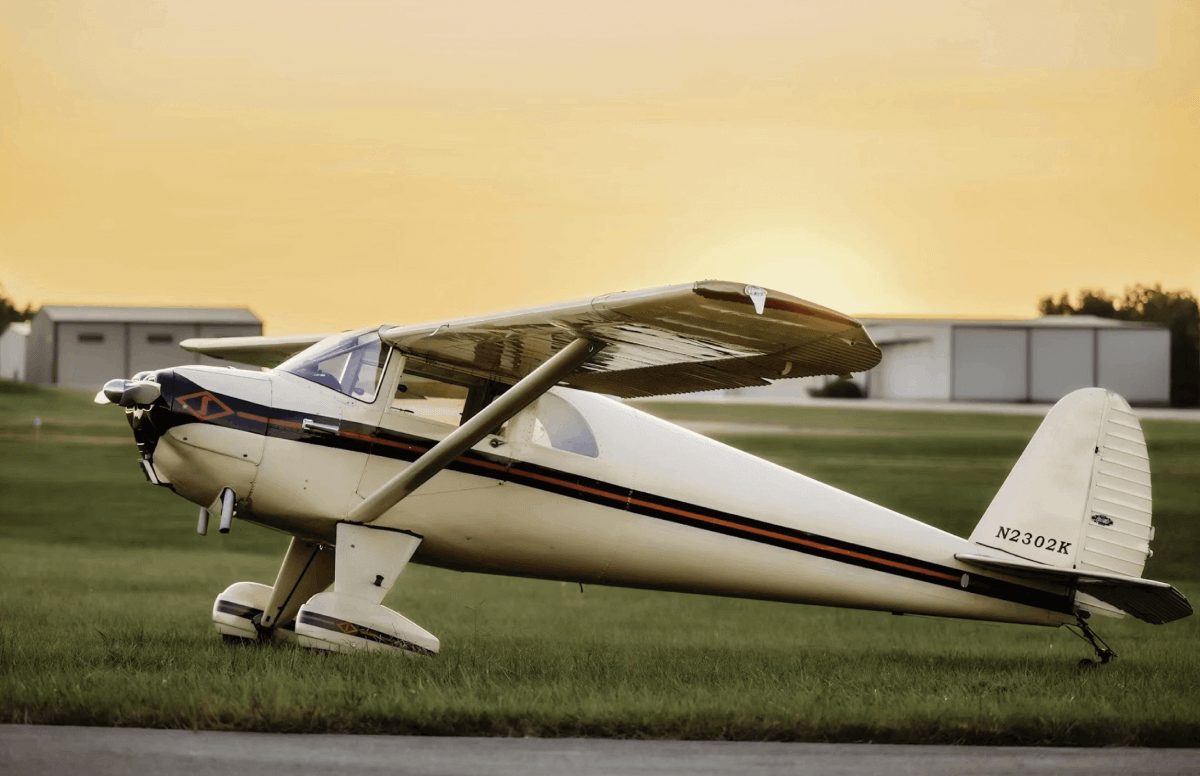
When I bought my 1970 Piper Cherokee 180 and the pre-buy and annual were completed, it was time to introduce my wife to our new bird with a short flight around our area. I was hoping to make a good impression.
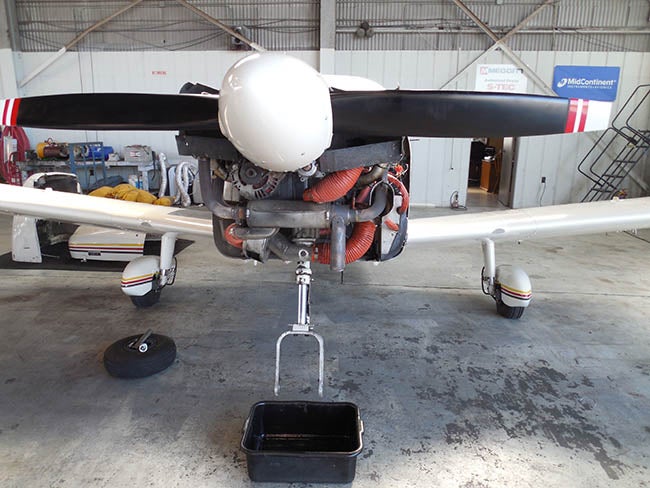
The airplane stance was wrong as we approached our plane on the ramp. The nose was sitting way too low. Ouch. The front strut was collapsed.

Because it was a Sunday afternoon, the Augusta Aviation maintenance shop was empty. I contacted the manager and was told that nothing could be done until the next day. I told my wife that our first flight would be another day, and we went out to eat.
The joys of airplane ownership.
The next morning, I arrived to find my strut serviced with nitrogen by the maintenance crew. It was worth a try, since aging seals will sometimes leak in cold weather. Unfortunately, the strut collapsed in less than an hour.
DIY
An owner can participate in the maintenance of their personal airplane, but you’ve got to be under the direction and observation of a certificate holder, as authorized by FAR 43.3 (d). The Certificate holder will watch you work and approve your work when completed to their satisfaction. My shop assigned a mechanic to work with me while I performed most of the required repairs. Working on your airplane can be educational, and it can save you money.
The Oleo strut is a common aircraft suspension component found on many of our airplanes. Although similar in appearance to a motorcycle front suspension, they are significantly different. The biggest difference is that there’s no actual spring, just gas under pressure. The shock absorber is hydraulic fluid flowing through small openings. These struts are simple, sturdy and provide years of trouble-free service, and repairs to them require only basic hand tools. The rebuild took a few hours and required some new seals, a little hydraulic fluid and some compressed nitrogen. The seals are easily obtained as a kit for your specific airplane from most aircraft parts vendors. I completed the repairs for less than $200.
We began troubleshooting by replacing the Schrader valve core, located on the top of the strut. This valve allows you to recharge the gas, like the fill stem on your tires. The core is removed and replaced using a common tool. The rubber seals can go bad, and it is an easy fix, if you are lucky. Unfortunately, after I made that repair, the strut proceeded to collapse in less than an hour.
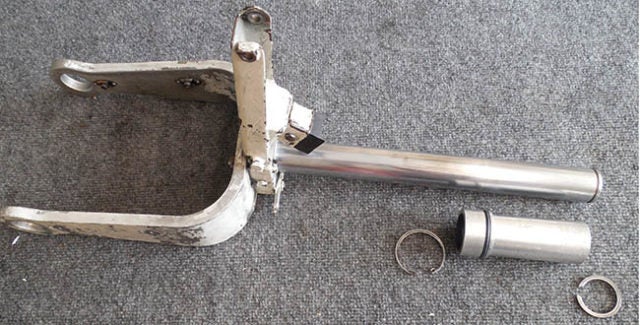
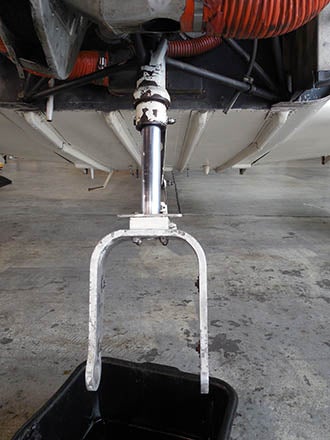
Luckily, disassembling the strut for rebuilding is easy. You elevate the leaking strut enough to pull the strut shaft out of the housing. Sand bags on the tail of my Piper provided the required clearance. You’ve got to get rid of any remaining gas pressure and then remove the wheel and the tire. You disassemble the strut torque linkage by removing a few fasteners. Then, if you look up into the strut from the bottom, you’ll see a lock ring that must be removed. After that, you simply pull the shaft out of the housing.
When you pull out the strut, a lot of bright red hydraulic fluid will come with it, so a catch pan is a necessity. The main housing remains installed in the aircraft.
Once the strut is on the work bench, you remove heavy duty lock ring to permit removal of the seal bearing sleeve from the fork tube. A few minutes at the parts washer will remove years of dirty sediment from inside the fork tube. Removing and replacing the seals comes next.
You reassemble the unit in the reverse order that you disassembled it. The strut must then be refilled. This sounded complicated in the repair manual. In practice, it was simple. You push a hose on to the Schrader valve stem after removing the valve core. The other end of the hose is inserted into a can of hydraulic fluid. The strut is then expanded and compressed by hand. By using a clear hose, you can watch hydraulic fluid from the can go in and the air bubbles come out with each stroke. Finally, you reinstall the valve core using a nitrogen tank, with regulator, to add sufficient gas pressure to establish the correct ride height. If no leaks are detected, the job should be done.
Unfortunately, once again, the strut collapsed in less than an hour. At that point, I was afraid that I might be facing something expensive. We pressurized the strut and poured some soapy water over it to look for leaks. It was immediately obvious from the bubbles around the base of the Schrader
valve stem that we found the leak. The valve stem body threads into the top of the strut. I removed the stem, and when I did, I discovered that, some time in the past, a rubber o-ring was added to the metal sealing gasket that was intended to seal the stem to the housing. I carefully cleaned the machined surfaces to remove all rubber residue and installed a new metal gasket. We pressurized the strut, and it remained extended. My strut was now fixed.
My supervising mechanic inspected and properly documented the work in the airframe log books, in accordance with FAR 43. I filed away the knowledge for the next time down the road I needed to fix a strut and save hundreds of dollars in the process.
One more quick note: you can rest easy if you are worried about a strut collapse during taxi or landing. Your airplane was designed to avoid a prop-strike in the unlikely event of both a collapsed front strut and a nose wheel with a flat tire.