
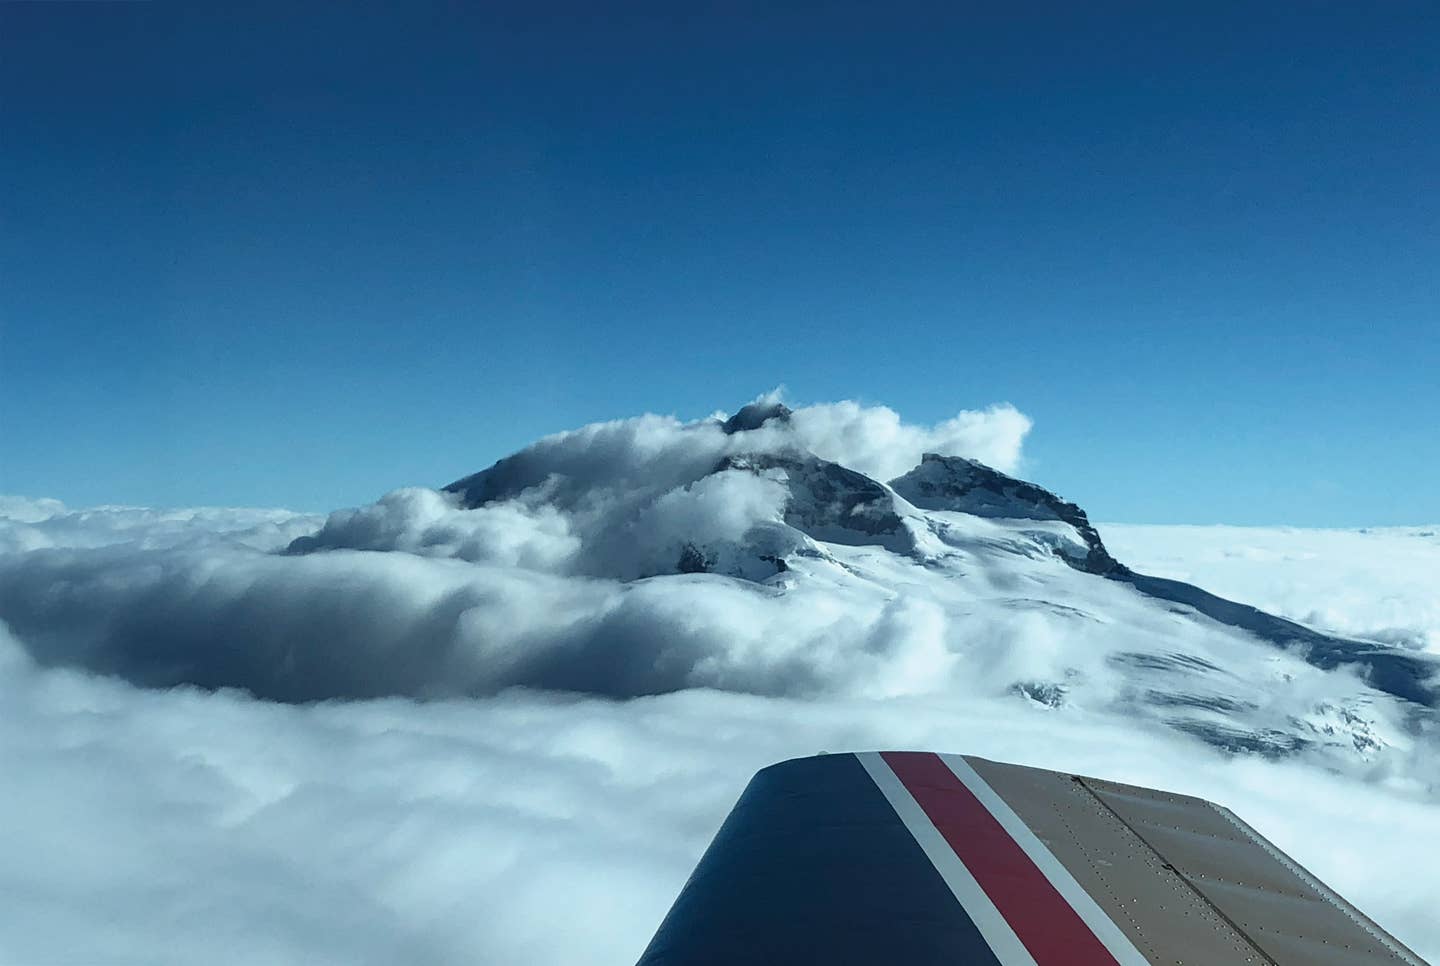
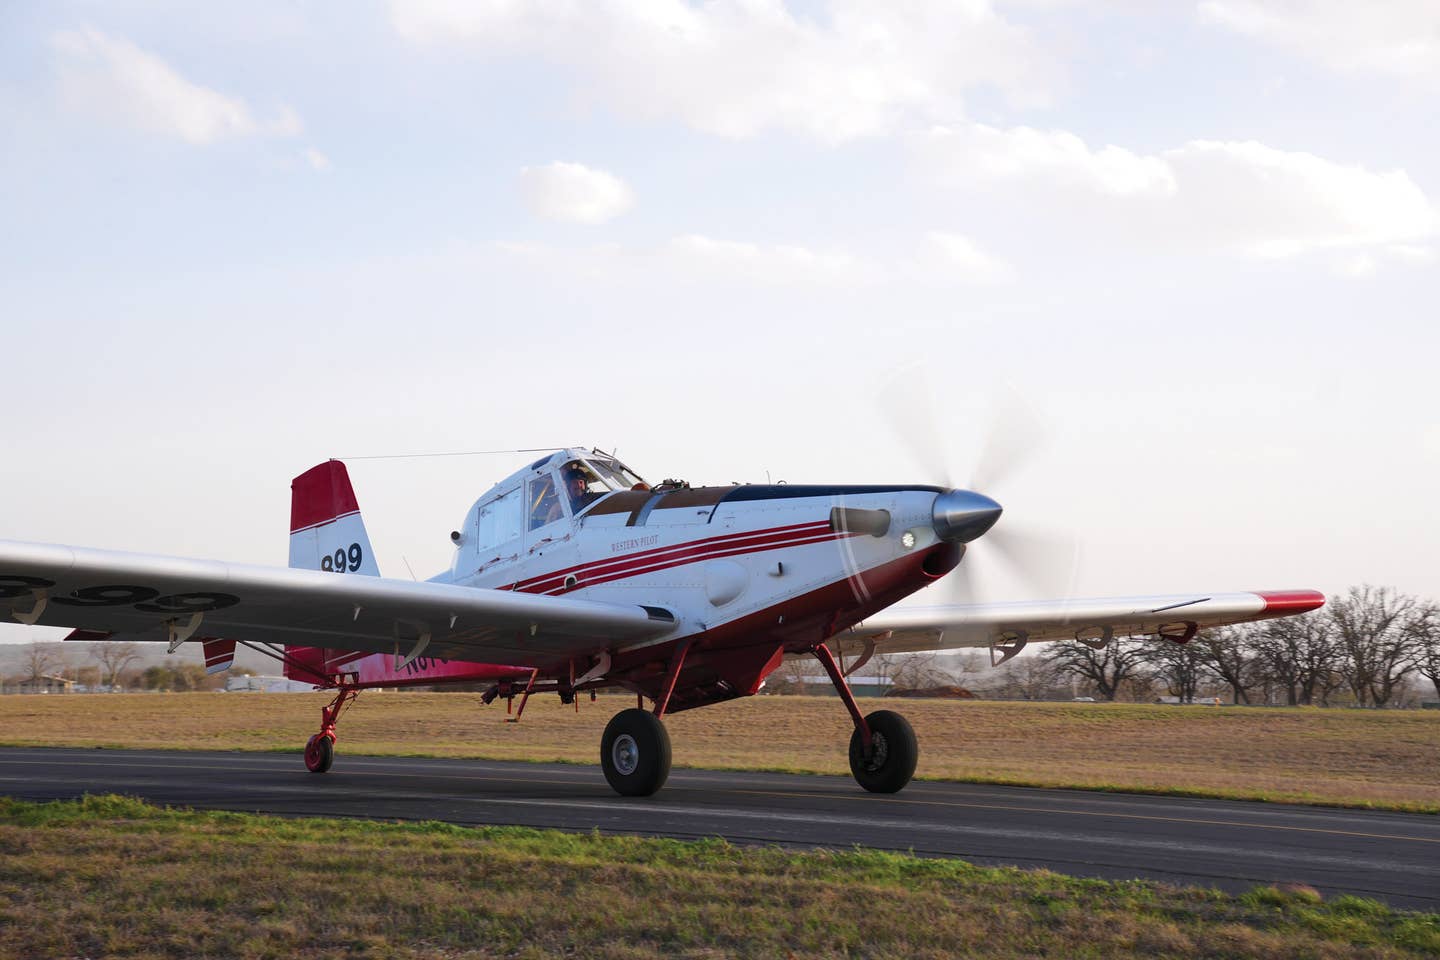
Latest From Plane & Pilot

Aircraft
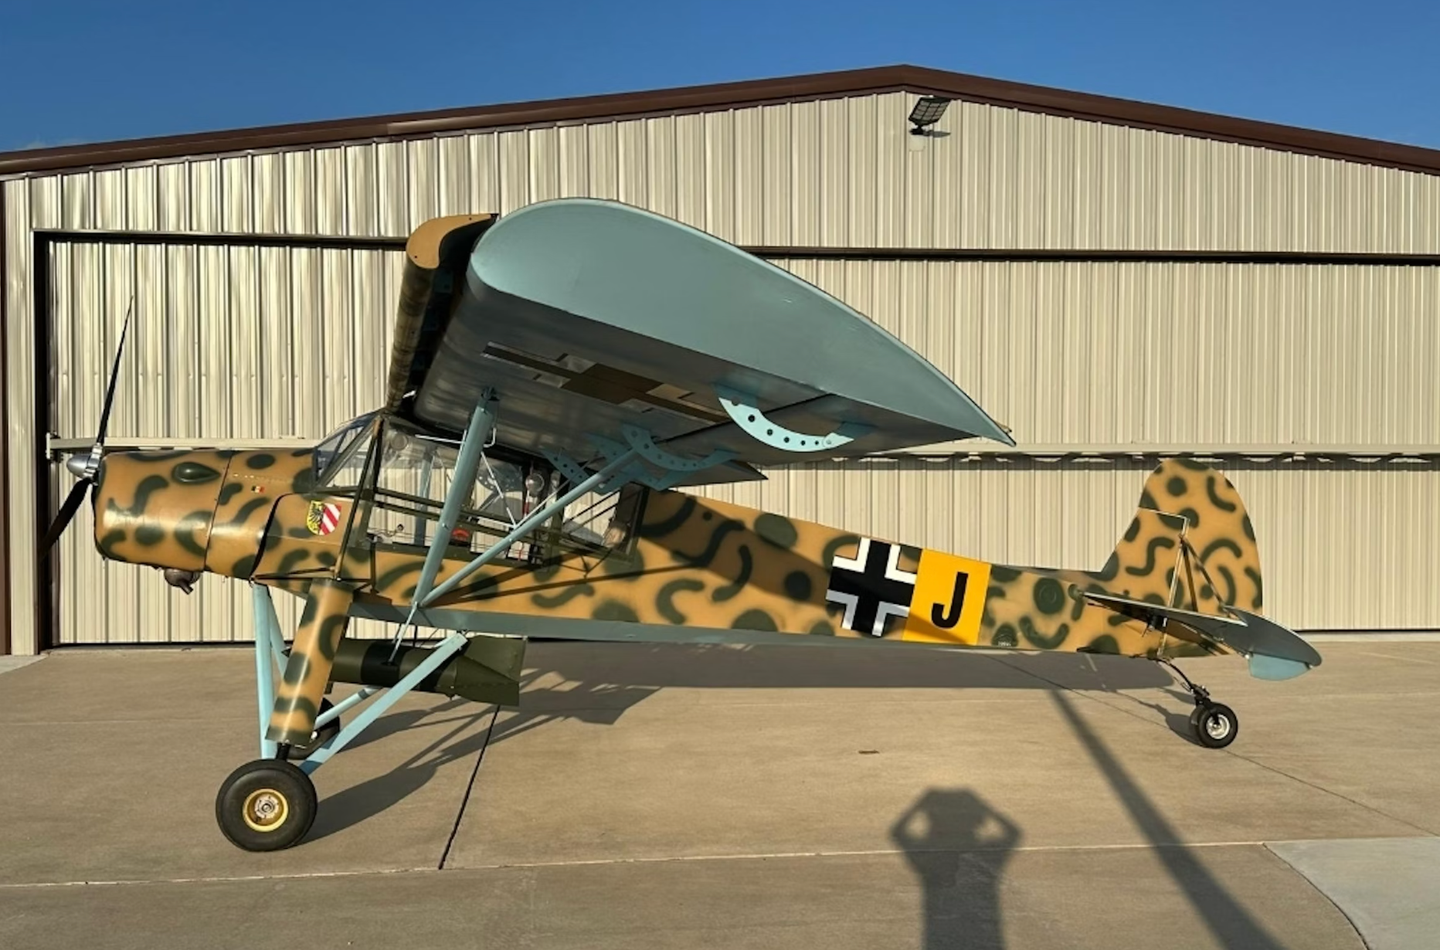
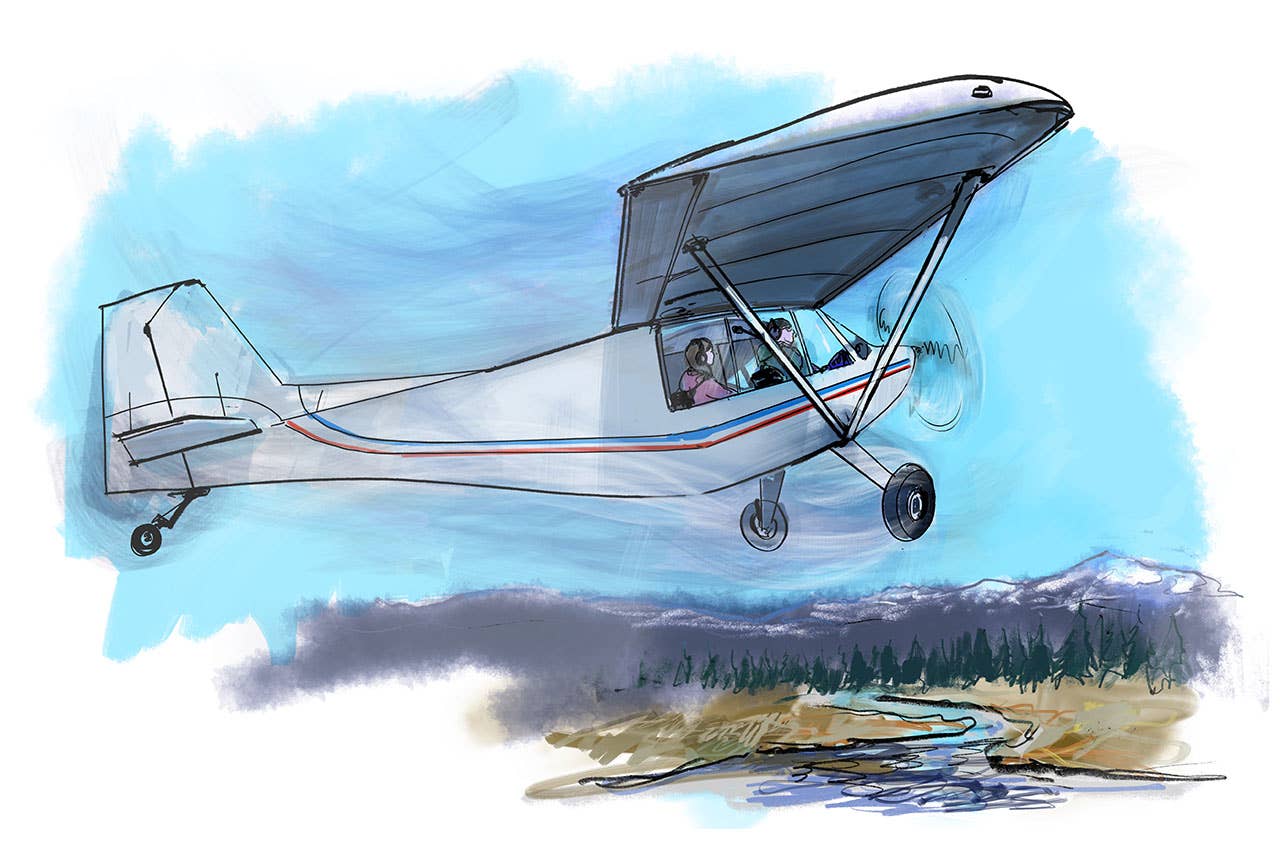
AircraftBargain Buys on AircraftForSale: 2011 Slepcev Storch
Your own warbird can be had for $59,000.
Jason McDowell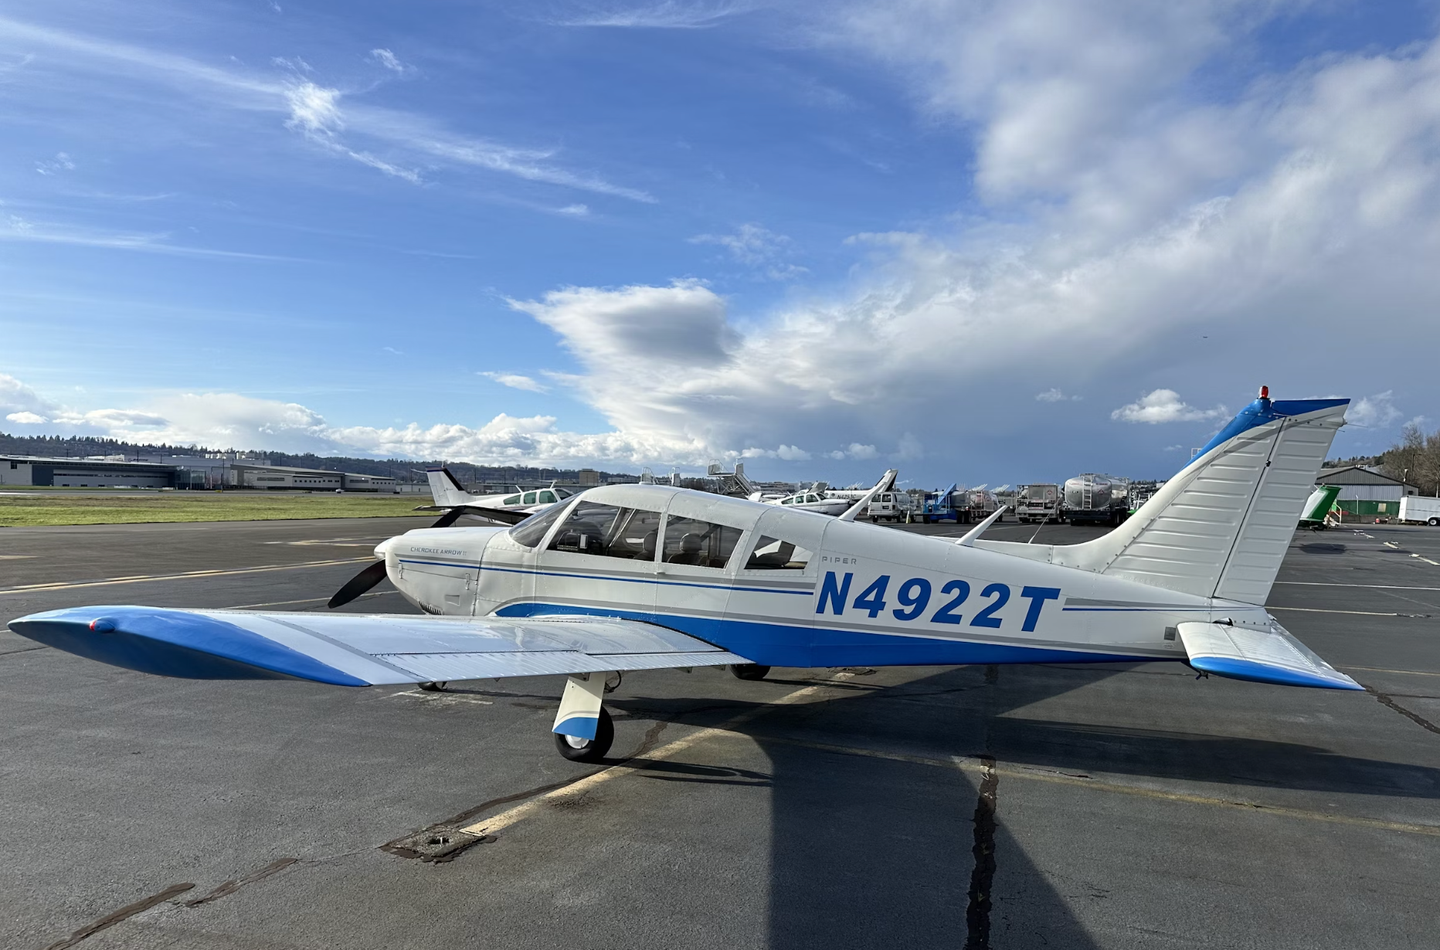

Products


Cool Flying Stuff
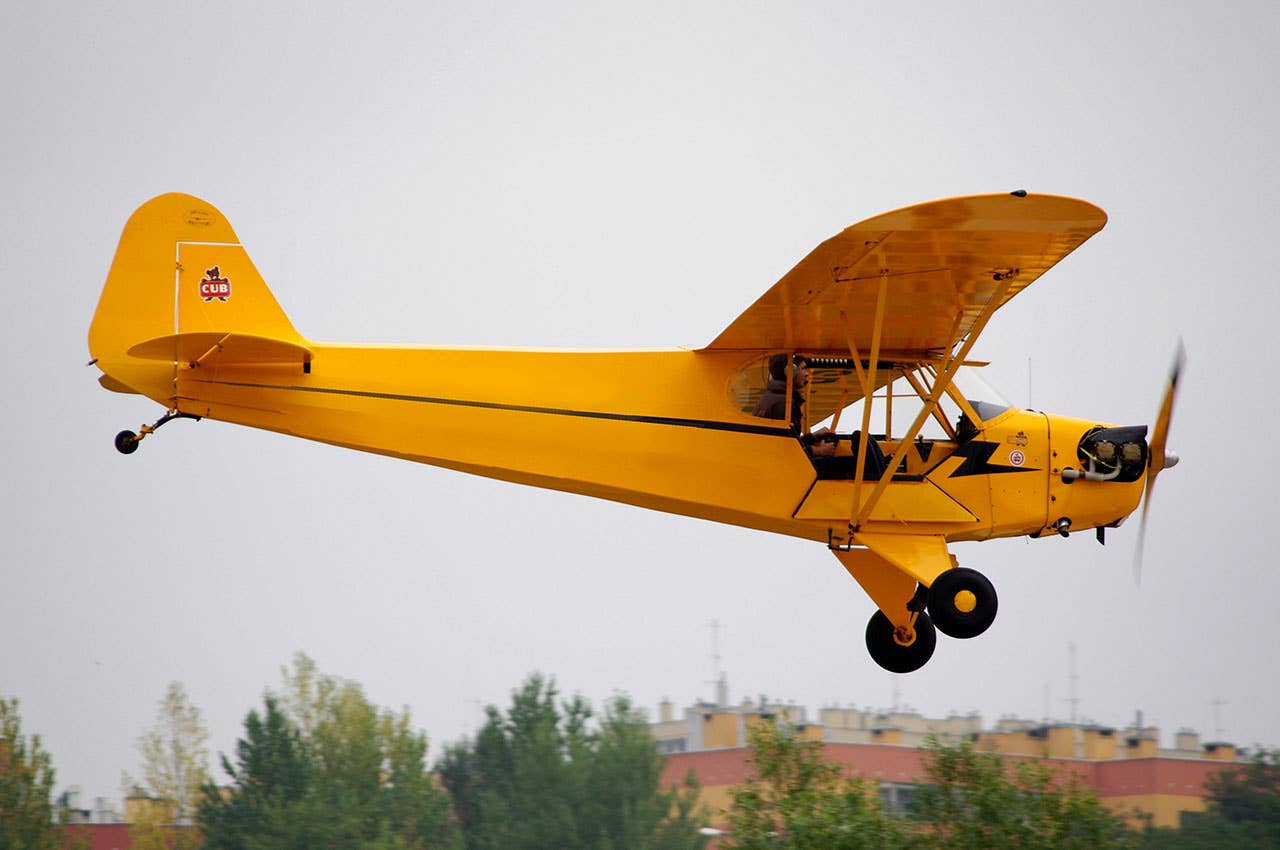
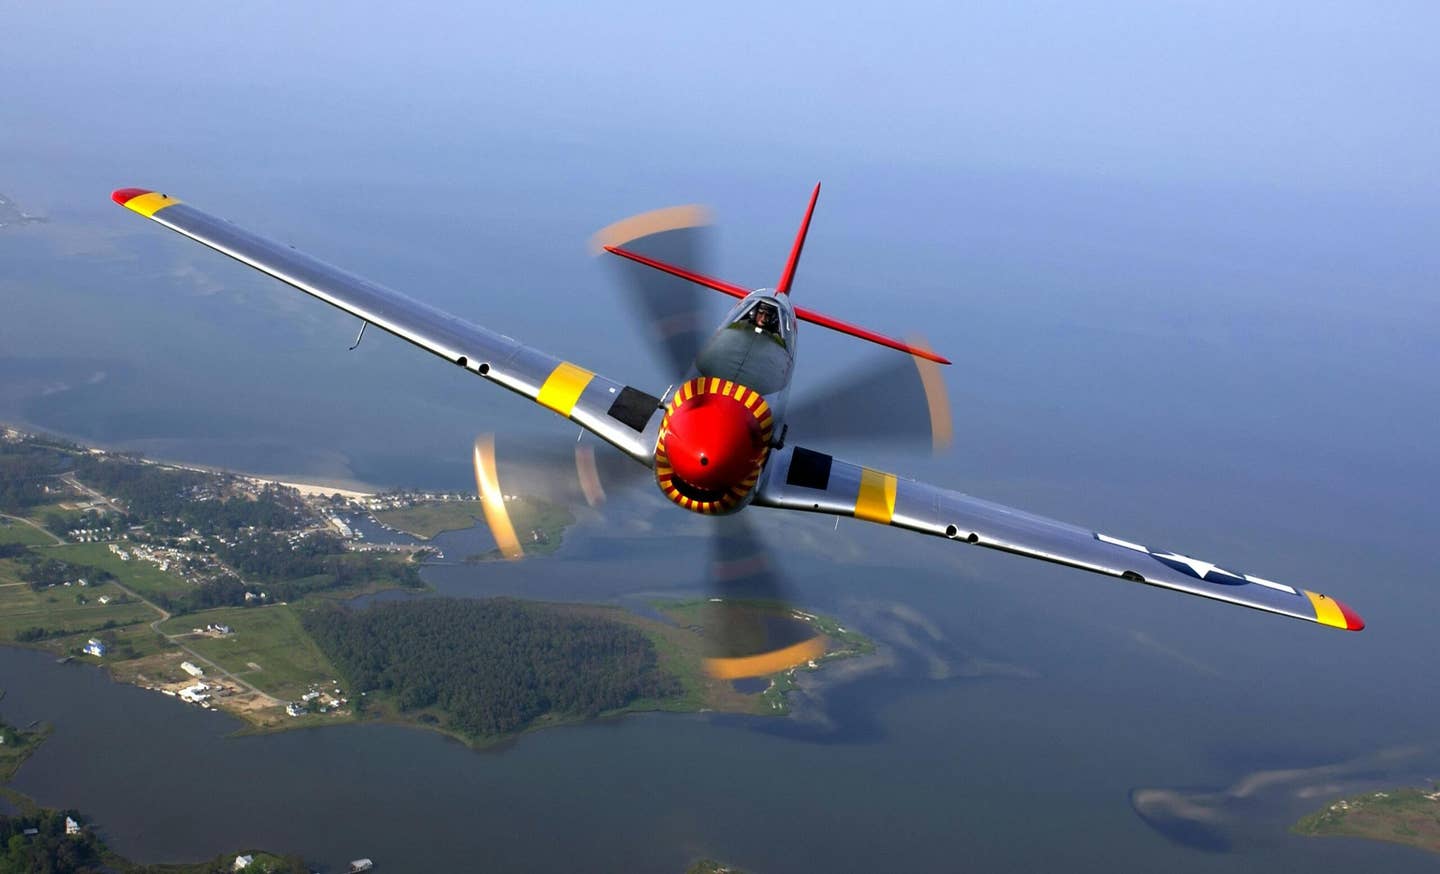
WrightTop 8 Historic American Aircraft
These iconic planes resonate even with non-aviation types.
W. David Pond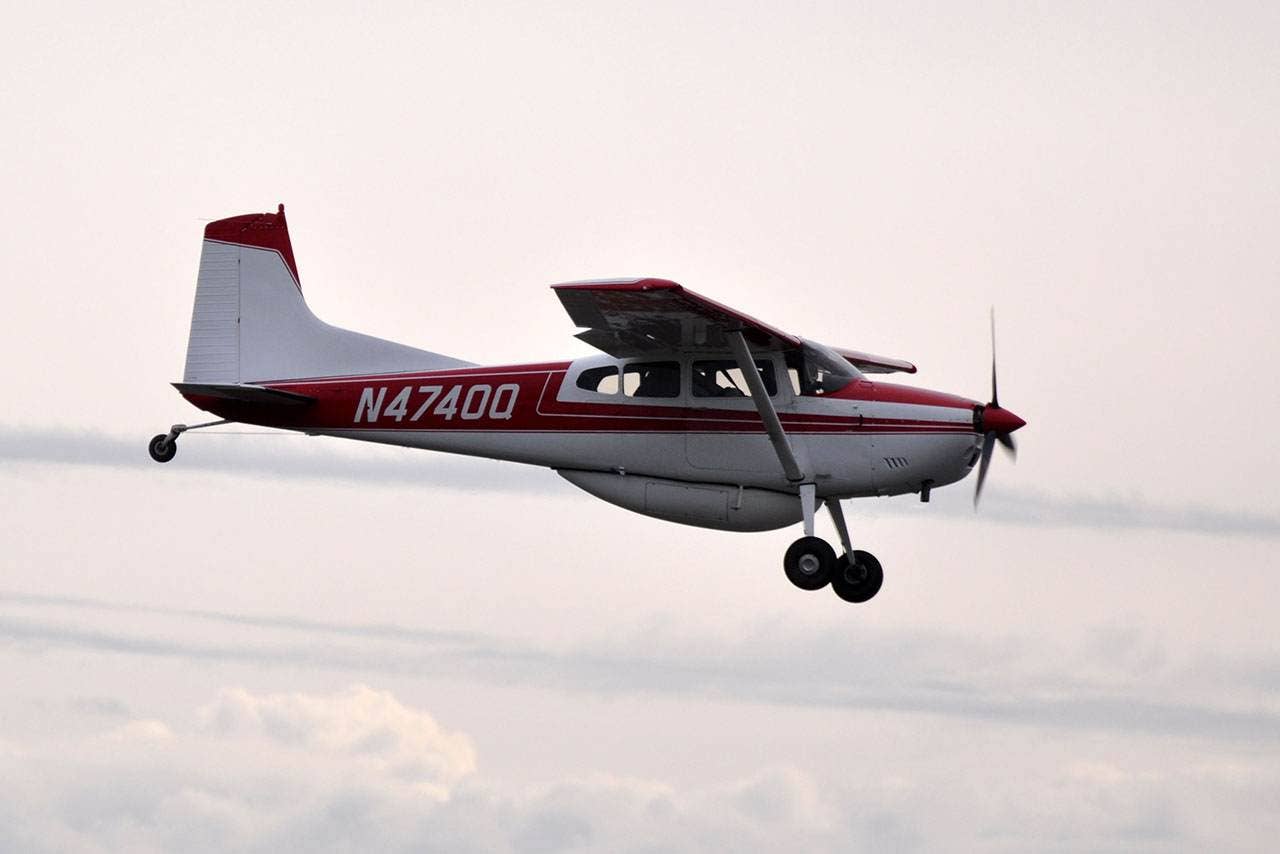


Subscribe to Our Newsletter
Get the latest Plane & Pilot Magazine stories delivered directly to your inbox